
Knit Beginner Scarf Steps: Your First Scarf Guide
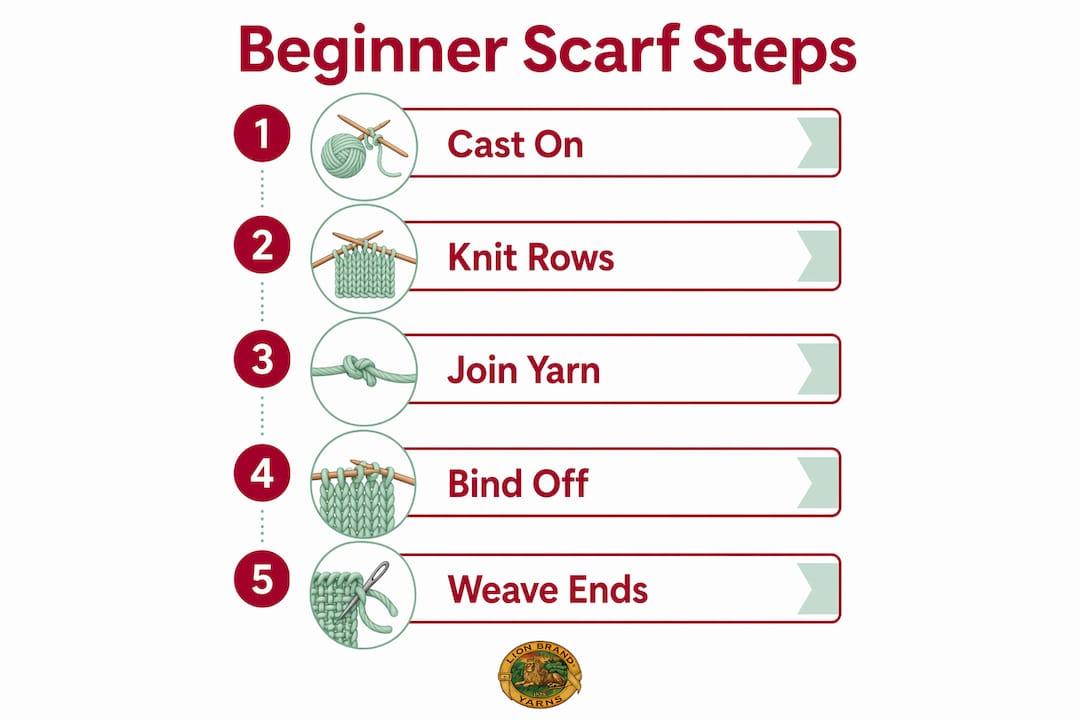
Knitting a beginner scarf is defined by four core steps: casting on stitches, knitting rows in garter stitch, joining new yarn as needed, and binding off to finish. This scarf knitting tutorial covers every step with clear instructions so you can complete a real, wearable scarf on your first try. You will learn to choose the right yarn and needles, build consistent tension, and finish your edges neatly. The skills you practice here, including the knit stitch and casting on, form the foundation for every knitting project that follows.
What materials and tools do you need to knit a beginner scarf?
The right materials make every step easier. Medium worsted weight yarn is the best choice for a first scarf. The stitches are large enough to see clearly, the yarn slides smoothly on the needles, and the finished fabric has a satisfying weight. Recommended needle sizes for beginners are US 8 (5mm) or US 9 (5.5mm) with worsted weight yarn, which balances stitch visibility with ease of handling.
Avoid novelty yarns, fuzzy yarns, or anything with a lot of texture for your first project. These yarns hide your stitches, making it nearly impossible to see mistakes or count rows. A smooth, solid color yarn lets you watch your technique develop in real time. Lion Brand Wool-Ease Yarn and Vanna’s Choice Yarn are both worsted weight, smooth, and easy to work with, making them ideal starting points.
Beyond yarn and needles, you need two small tools: a tapestry needle for weaving in ends and a pair of scissors. That is the complete list. No special equipment is required.
Yarn weight and needle size comparison
| Yarn weight | Needle size | Stitch visibility | Best for |
|---|---|---|---|
| Bulky | US 10–11 | Very easy | Fast projects, chunky look |
| Worsted (recommended) | US 8–9 | Easy | First scarves, balanced drape |
| DK | US 5–7 | Moderate | Lighter scarves, more practice needed |
| Fingering | US 1–3 | Difficult | Not recommended for beginners |
Pro Tip: Buy one extra skein of yarn beyond what the pattern calls for. Running short mid-project is the most common beginner frustration, and having backup yarn on hand keeps your momentum going.
Casting on 20–35 stitches with worsted yarn typically produces a scarf width of 8–9 inches. That range covers most adult scarves comfortably without feeling too narrow or too wide.
How to cast on stitches for your beginner scarf
Casting on is the process of placing your first row of loops onto the needle. It is the starting point for every knitting project. Two methods work well for beginners: the long-tail cast on and the knitted cast on.
The long-tail cast on produces a neat, stretchy edge and is widely considered the best method for scarves. The knitted cast on is simpler to learn because it uses the same motion as a regular knit stitch. If you are brand new to knitting, start with the knitted cast on to get comfortable, then try the long-tail cast on once you feel confident.
Steps for the long-tail cast on
Estimate your tail length. Measure a tail roughly 3–4 times the width of your planned cast-on edge, then add a few extra inches. This prevents running out of yarn before you finish casting on.
Make a slip knot and place it on your needle. This counts as your first stitch.
Hold the needle in your right hand. Drape the tail yarn over your left thumb and the working yarn over your left index finger.
Dip the needle tip under the loop on your thumb, then catch the yarn from your index finger and pull it through.
Slip the loop off your thumb and gently tighten the new stitch onto the needle.
Repeat steps 3 through 5 until you have your target stitch count. For a standard adult scarf, cast on 30 stitches.
Count your stitches after casting on. Catching a mistake at this stage takes seconds. Catching it ten rows later takes much longer.
Pro Tip: Use a needle one size larger than your project needle for the cast-on row only. This keeps your edge loose and prevents the tight, puckered look that beginners often see on their first few scarves. Loosening tension during the first row improves edge appearance significantly.
How to knit the garter stitch and build your scarf’s body
The garter stitch is defined as knitting every single row without ever purling. It produces a squishy, flat, and reversible fabric that is ideal for beginners learning consistent tension. Because both sides look identical, you never have to track which side is the “right” side. That removes one major source of confusion for new knitters.
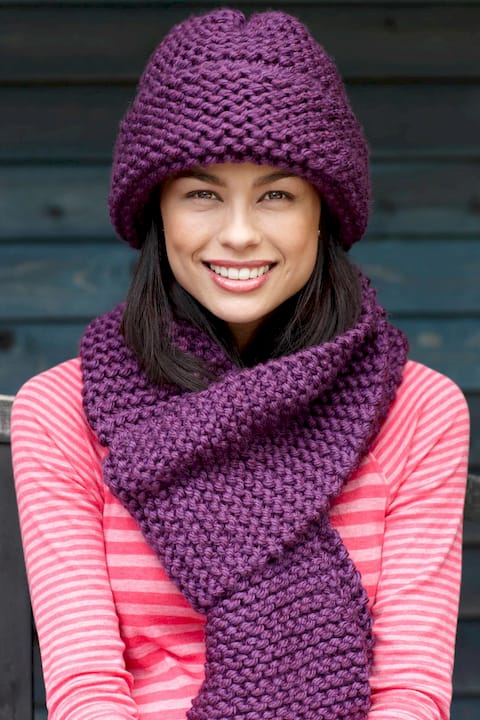 Image: Beginner Hat and Scarf
Garter stitch is also foundational for building critical knitting skills. The repetitive motion of the knit stitch trains your hands to find a natural rhythm, and that rhythm is what creates even tension over time.
Step-by-step knit stitch instructions
Hold the needle with cast-on stitches in your left hand. Hold the empty needle in your right hand.
Insert the right needle tip into the first stitch from left to right, going under the left needle.
Wrap the working yarn counterclockwise around the right needle tip.
Pull the right needle back through the stitch, bringing the new loop with it.
Slide the original stitch off the left needle. You have completed one knit stitch.
Repeat across all stitches until the left needle is empty. That is one row finished.
Turn your work so the needle with all the stitches is back in your left hand. Repeat.
Tension inconsistency in the first rows is completely normal. Muscle memory develops as you continue, and most knitters notice a visible improvement after completing the first 10–20% of their scarf length. Treat those early rows as practice, not failure.
Pro Tip: If your yarn feels tight and hard to move, loosen your grip on both needles. Your hands should feel relaxed, not clenched. Tension comes from how you hold the yarn, not from squeezing the needles.
When and how to join new yarn and manage scarf length
Running out of yarn mid-project is not a problem. It is a normal part of knitting any project longer than a few inches. The key is joining new yarn cleanly so the transition is invisible in the finished scarf.
Steps for joining new yarn without knots
Knit until about 6 inches of yarn remain on your current ball. Do not wait until the very end.
Drop the old yarn, leaving a 6-inch tail hanging from the work.
Pick up the new yarn ball and leave a 6-inch tail on that end as well.
Hold the old and new yarn together and knit 3–5 stitches with both strands at once. This creates a smooth, secure join without any knots.
Drop the old yarn and continue knitting with the new yarn only.
After finishing the scarf, use a tapestry needle to weave both tails into the fabric on the wrong side.
Knots create hard, lumpy spots in the finished fabric. The double-strand join method avoids that problem entirely and holds securely through washing and wear.
Scarf length is personal. Standard adult scarves run about 60–66 inches, but you are not required to hit that number. A scarf that reaches from your chin to your waist when folded in half is long enough to wear comfortably. Measure your work by laying it flat on a table and using a tape measure along the center. Check the length every few inches once you pass the 40-inch mark so you can plan your bind-off row.
Flexible scarf length is encouraged for beginners. Finishing a slightly shorter scarf with clean edges is a better outcome than abandoning a project because the length goal felt too far away.
How to bind off and finish your beginner scarf
Binding off, also called casting off, is the process of securing your final row of stitches so the fabric does not unravel. Done correctly, it creates a neat, stretchy edge that matches your cast-on edge.
Steps for binding off
Knit the first two stitches of the row normally.
Insert the left needle tip into the first stitch on the right needle (the one you knit first).
Lift that stitch up and over the second stitch, then off the needle entirely. One stitch is bound off.
Knit one more stitch. You now have two stitches on the right needle again.
Repeat steps 2 through 4 until one stitch remains on the right needle.
Cut the yarn, leaving a 6-inch tail. Pull the tail through the last loop and tighten gently.
Pro Tip: Bind off loosely. Many beginners pull too tight during this step, which causes the final edge to pucker and pull the scarf out of shape. If your bind-off edge feels stiff, try binding off with a needle one size larger.
Once the scarf is off the needles, thread your tapestry needle with each yarn tail and weave it through the stitches on the back side of the fabric for at least 1 inch in two different directions. Trim any excess close to the fabric. This secures the ends permanently. For an optional finishing touch, cut 10-inch lengths of yarn and attach them along each short end of the scarf to create fringe. This is a simple way to add personality to a beginner garter stitch scarf without any additional technique.
Key takeaways
Knitting a beginner scarf requires the right yarn weight, a simple garter stitch technique, and clean finishing steps to produce a wearable, well-made result.
| Point | Details |
|---|---|
| Choose worsted weight yarn | US 8 or US 9 needles with worsted yarn give beginners the best stitch visibility and control. |
| Cast on with a loose edge | Use a larger needle for the cast-on row to prevent tight, puckered edges. |
| Knit every row in garter stitch | Garter stitch is flat, reversible, and the most forgiving technique for building tension skills. |
| Join new yarn without knots | Hold old and new yarn together for 3–5 stitches to create a smooth, secure transition. |
| Bind off loosely | A relaxed bind-off edge matches the cast-on and keeps the scarf from pulling out of shape. |
What Lion Brand has learned about teaching beginners to knit
The most common mistake new knitters make is judging their entire project by the first three rows. Those rows are almost always the worst ones. Tension is inconsistent, stitches are uneven, and the fabric looks nothing like the finished photo. That is not a sign of failure. That is exactly what learning looks like.
Uneven stitches in the first few inches are common across all skill levels when starting a new project. Viewing them as a progress record rather than a mistake encourages persistence. The scarf you finish will look dramatically different from the scarf you started, and that contrast is something worth keeping.
Knitting also has a meditative quality that most beginners do not expect. The repetitive motion of the knit stitch quiets the mind in a way that is genuinely useful. Many knitters report that a 20-minute session with needles and yarn resets their focus better than scrolling a phone. That benefit shows up quickly, often within the first project.
Completing a scarf also opens the door to every other knitting project. The cast on, knit stitch, and bind off are the same three skills used in hats, blankets, and sweaters. A finished scarf is not just a scarf. It is proof that you can follow a pattern from start to finish, and that confidence carries forward into every project after it.
— Lion Brand Yarn team
Ready to start your first knitting project?
Lion Brand carries everything you need to go from zero to finished scarf, including beginner-friendly worsted weight yarns and complete knitting kits that take the guesswork out of getting started.
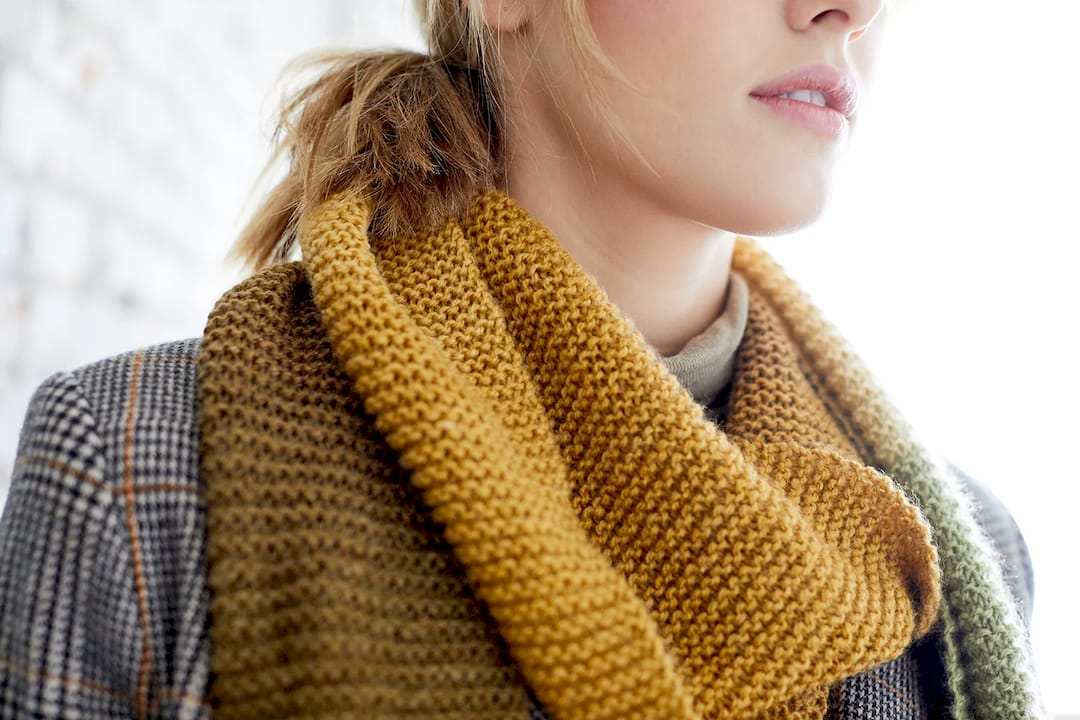 Image: Woodruff Scarf
The Knit Kit – Winter’s Embrace Wrap bundles yarn and supplies together so you can pick up and start knitting right away. For yarn on its own, Vanna’s Choice and Wool-Ease are both worsted weight, smooth, and available in dozens of colors. Lion Brand also offers free beginner scarf patterns sorted by skill level, so you always have a clear pattern to follow. Browse the full collection of knitting kits and patterns to find the right starting point for your first project.
FAQ
What is the best stitch for a beginner knit scarf?
The garter stitch is the best choice for beginners. It requires only the knit stitch, produces a flat and reversible fabric, and builds consistent tension through repetition.
How many stitches should a beginner cast on for a scarf?
Cast on 20–35 stitches with worsted weight yarn. Around 30 stitches produces a comfortable 8–9 inch width for a standard adult scarf.
What yarn weight is best for a beginner scarf?
Worsted weight yarn is the best option. It is large enough to see clearly, smooth enough to slide on the needles, and widely available in beginner-friendly options like Lion Brand Vanna’s Choice.
How long should a beginner knit scarf be?
A traditional adult scarf runs 60–66 inches, but length is flexible. Knit to a length you find comfortable and wearable without pressure to hit a specific number.
How do you join new yarn without creating a knot?
Hold the old and new yarn together and knit 3–5 stitches with both strands. Then drop the old yarn and continue with the new one. Weave in both tails with a tapestry needle when the scarf is finished.