


Skill Level
Level 4 - Intermediate+
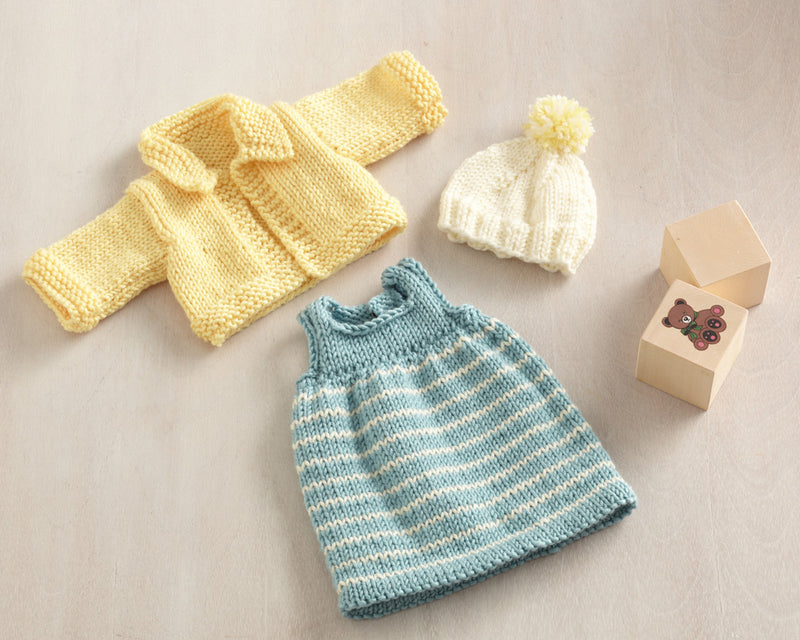
Project Type
Jacket, Toy
Dimensions Detail
To fit an 18 in. (45.5 cm) doll, such as Olivia by Springfield Collection
Pattern Craft
Knit
Made For
Child