


Skill Level
Level 5 - Experienced
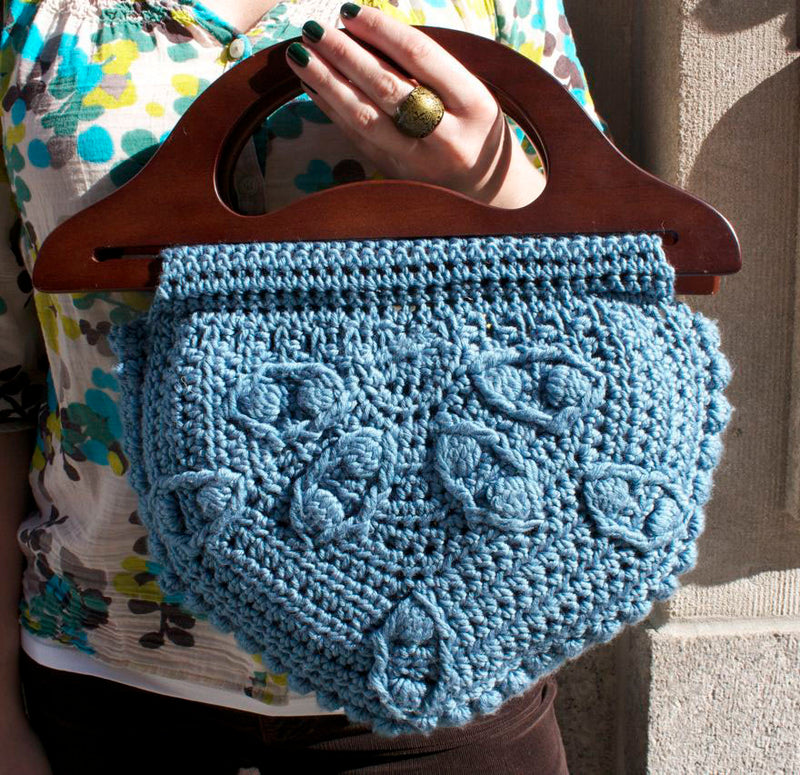
Project Type
Bag
Pattern Gauge
Rows 1-4 of Front measure about 4 in. (10 cm) across straight edge and have a 2 in. (5 cm) radius (from beg ring toedge). When you match the gauge in a pattern, your project will be the size specified in the pattern and the materialsspecified in the pattern will be sufficient. The needle or hook size called for in the pattern is based on what thedesigner used, but it is not unusual for gauge to vary from person to person. If it takes you fewer stitches and rows tomake your swatch, try using a smaller size hook or needles; if more stitches and rows, try a larger size hook orneedles.Making a Gauge Swatch
Dimensions Detail
About 10 in. (25.5 cm) tall x 13 in. (33 cm) wide
Pattern Craft
Crochet
Made For
Woman