Click here to visit our Canadian website for better pricing and faster shipping!
Buy 2 Skeins, Get 1 Free! No Code Necessary – Offer Ends 2026-07-22T09:00:00.00-04:00
*some exclusions apply, click for details
SKU: L10197
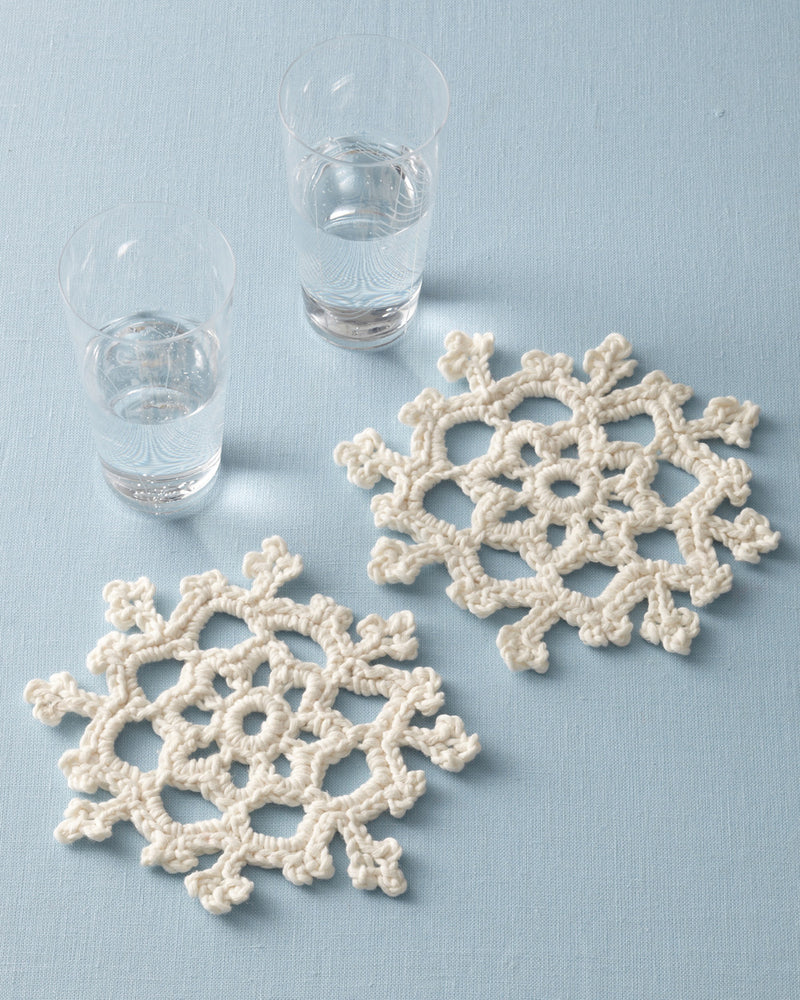
The Snowflake is a crochet decoration pattern that has a skill level of advanced.
1Available Shades
By creating an account, you agree to receive marketing emails from Lion Brand®.
Or continue with
Please enter your email: