


Skill Level
Level 5 - Experienced
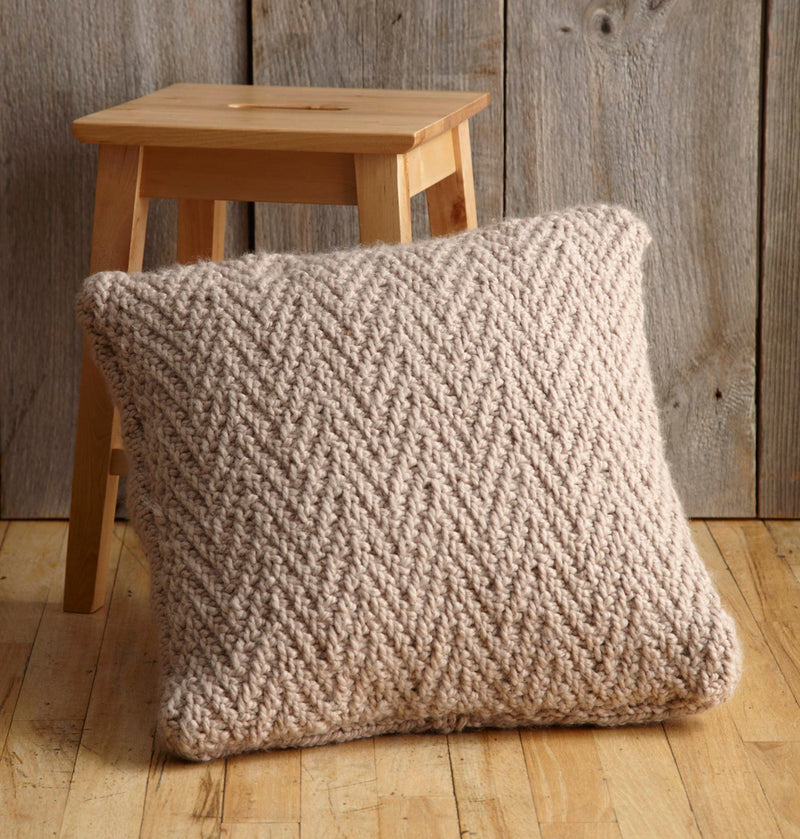
Project Type
Pillow
Dimensions Detail
About 20 x 20 in. (51 x 51 cm)
Pattern Yarn Weight
6 Super Bulky
Fiber
Acrylic, Wool
Pattern Craft
Knit
Made For
Home