
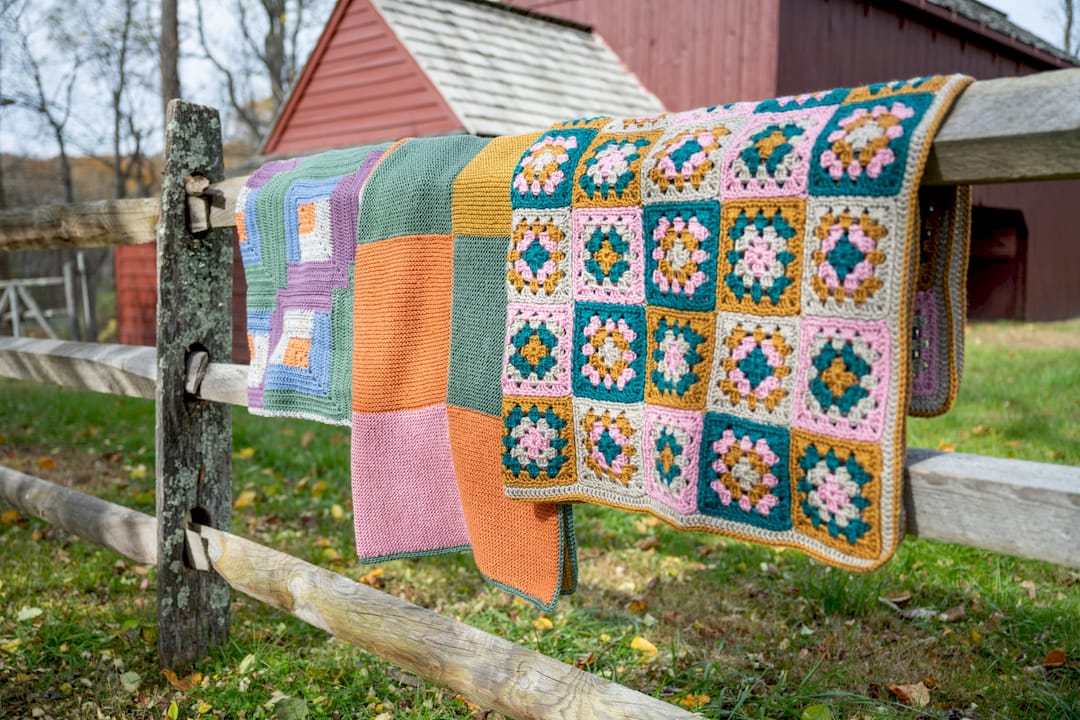
12 Granny Square Patterns to Try, From Beginner to Modern
Start with three: a classic granny for your first square, a daisy or flower motif for something decorative, and a solid granny for a modern, no-gap look. Each teaches a different skill, and none takes more than 20 minutes once you know the rhythm.
Classic granny square — the original three-stitch cluster pattern, best learned with Wool-Ease Yarn in a light color so you can see your stitches clearly.
Daisy or flower granny — a raised center round that turns a plain square into a motif, nice in Feels Like Butta Yarn for a soft finished feel.
Solid granny square — no chain-space gaps, works up like real fabric, and looks sharp in 24/7 Cotton Yarn for bags or garments.
Before committing to a full blanket or scarf, crochet one 4 to 6 inch test square in your chosen yarn and hook. It tells you almost everything: whether your gauge matches the pattern, whether the yarn drapes the way you want, and whether you actually enjoy making that particular motif 40 more times.
Key Takeaways
Granny square patterns range from the classic three-cluster motif to solid, textured, and pixeled variations, and picking the right one starts with a single test square.
| Point | Details |
|---|---|
| Start with a test square | Crochet one 4 to 6 inch motif before committing to a full project’s yarn and hook size. |
| Match hook to yarn weight | Most granny squares use a 4mm to 6mm hook, sizing up 0.5mm if clusters cup. |
| Block before joining | Blocking evens out size differences between squares and makes seams lie flatter. |
| Pick a join by visibility | Flat slip-stitch and whip stitch hide seams; single crochet leaves a visible ridge on purpose. |
| Use Lion Brand tested patterns | The Grand Granny Square Afghan Pattern and Granny Square Crochet Scarf Pattern give confirmed gauge and yardage. |
Table of Contents
What Are the Most Popular Granny Square Patterns?
A granny square is worked in rounds from the center outward, and that simple structure is exactly why it supports so many variations. Change the stitch in round one, the shape of the corners, or the color sequence, and you get a completely different look from the same basic technique.
Traditional granny square. Three double-crochet clusters separated by chain spaces, worked round after round. It’s the easiest granny square pattern to learn, forgiving of tension mistakes, and ideal for scrap-yarn blankets.
Solid or no-gap granny. Every stitch fills in, so there are no open chain spaces. The tighter fabric holds its shape well, which makes it a better pick for bags, garments, and anything that needs structure rather than drape.
Hexagon granny. Six sides instead of four changes the whole geometry of a joined project, giving afghans a honeycomb look that a plain grid can’t match.
Flower or blossom granny. A raised, often puffed center round mimics a flower before the outer rounds square it off. These read as decorative motifs on their own, not just building blocks.
Starburst and retro daisy. Bold color placement radiates from the center, so these motifs work best displayed individually or spaced out rather than packed edge to edge.
Block-stitch or modern granny. Straight geometric lines replace the classic cluster look, giving a cleaner, more contemporary appearance that suits minimalist decor.
Puff or textured granny. Extra loops per stitch add visible dimension, which is worth the added yarn for a cushion cover or a throw meant to be touched, not just seen.
Giant granny square. Made with bulky or super bulky yarn and a larger hook, a handful of these squares can finish a lap blanket in an afternoon.
Pixel or picture granny. Color changes plotted like a grid create images (hearts, letters, animals) across a joined piece, similar to cross-stitch logic translated into crochet.
Ombre or self-striping granny. Built for yarns that shift color gradually on their own, so every round changes shade without a single extra yarn change.
Heart and novelty squares. Shaped centers instead of plain circles make these a go-to for holiday gifts and baby items.
Periwinkle, diamond, and other named motifs. Many pattern collections give traditional layouts their own names based on the shape the color blocking creates, especially diamond and windowpane variations.
Choosing Yarn and Hook Size for Your Granny Square
Yarn weight should match what the project needs to do, not just what looks nice in the skein. Worsted weight is the workhorse for general blankets and scarves. Bulky yarn speeds up big throws. DK or light worsted keeps garments from feeling stiff.
Hook size for granny squares typically falls between 4mm and 6mm, with 5mm being a common starting point for worsted weight yarn. If your clusters look cupped or tight instead of lying flat, sizing up by half a millimeter often fixes it without changing your yarn.
24/7 Cotton Yarn for dishcloths, market bags, and warm-weather garments.
Wool-Ease Yarn for do-it-all blankets that need to hold their shape.
Feels Like Butta Yarn for wearables where softness against skin actually matters.
Always crochet a test square first. Make one 4 to 6 inch motif, wash and block it if the finished project will ever see a washing machine, then measure it against the pattern’s stated gauge before you commit to dozens more.
Pro Tip: Keep a small notebook of hook sizes and gauge results by yarn brand. Six months from now, you won’t remember which hook gave you a perfect 6-inch square in Wool-Ease, and re-testing every time wastes yarn.
How Do You Crochet a Basic Granny Square?
Start with a magic ring or a chain-4 loop joined into a circle, then build outward in rounds of three-stitch clusters separated by chain spaces. Most crocheters can finish a 4 to 6 inch motif in under 20 minutes once the rhythm clicks, and hook sizes between 4mm and 6mm cover the vast majority of patterns.
Make a magic ring (or chain 4, join with a slip stitch to form a loop).
Round 1: chain 3, work 2 double crochet into the ring, chain 2, then repeat “3 double crochet, chain 2” three more times. Join to the top of the starting chain 3.
Round 2: in each corner chain-2 space, work 3 double crochet, chain 3, 3 double crochet. Add a plain 3-double-crochet cluster into the side chain spaces between corners.
Round 3 and beyond: repeat the pattern, working corner clusters into every corner space and side clusters into every side space, adding one side cluster per round as the square grows.
To change color, work the last stitch of a round until two loops remain on the hook, then pull the new color through to finish it. Cut the old tail, leaving enough to weave in later.
Fasten off and weave in all tails before joining or blocking.
If a square twists as it grows, you likely turned your work in the wrong direction between rounds, or missed a corner cluster. Uneven corners usually mean a skipped chain-2 space. Both problems tend to disappear once the square is blocked, which is why blocking before joining matters so much for a multi-square project.
Which Join Method Should You Use to Connect Granny Squares?
The right join depends on how visible you want the seam to be and whether you’re joining as you finish each square or connecting a finished stack. Four methods cover almost every project.
Join-as-you-go flat join. Squares connect as each one is completed, so you watch the project take shape without a separate joining session at the end. It works best when every square shares the same stitch count and edge structure.
Flat slip-stitch seam. This method creates a smooth, low-profile finish without any sewing. You lay two squares wrong sides together and slip stitch through matching stitches, which keeps the seam nearly flat on both sides.
Single crochet join. Working a row of single crochet through both squares’ edges creates a visible ridge, which some crocheters use deliberately as a design detail, especially in a contrasting color.
Whip stitch (sewn join). A yarn needle and whip stitch through the back loops give the least visible seam of the four, though it takes longer than any crochet-based join since it’s hand sewing rather than hooking.
Block every square before joining, regardless of which method you choose. Blocking evens out minor size differences between motifs and makes seams lie flatter once connected. After joining, a simple border round, usually single crochet followed by a decorative edge, hides any remaining inconsistency along the seams.
Pro Tip: If you’re mixing squares from different pattern sources, add one plain border round to every square before joining so the final stitch counts match, even if the inner rounds don’t.
How Many Granny Squares Do You Need for a Blanket?
Measure your test square, then divide the finished dimensions you want by that number. A 6-inch square needs roughly 8 across by 10 down for a 48 by 60 inch throw, which comes out to 80 squares. A baby blanket at 36 by 36 inches needs about 36 squares at that same size. Full-size bed blankets can run well past 100 squares depending on how big you make each motif.
Grid layout is the simplest: identical squares in straight rows, ideal for a first blanket project.
Offset layout staggers squares like brickwork, which hides small size variations better than a strict grid.
Medallion layout builds outward from a single center motif, often mixing square sizes toward the edges.
For color balance, alternating placement reads as more intentional than random scatter, but a unifying border color, worked once around the whole finished piece, pulls even a scrappy random mix together visually.
Lion Brand Patterns Built for Granny Square Projects
Lion Brand has published free crochet patterns for 145 years, and its pattern library includes tested granny square projects sorted by skill level, so you’re not guessing at gauge or yardage. The Grand Granny Square Afghan Pattern uses an oversized motif for a fast-finishing blanket, while the Granny Square Scarf Pattern turns the same technique into a wearable strip.
Check the pattern’s listed yarn weight before buying skeins.
Estimate total skeins using the pattern’s stated yardage, not guesswork.
Match the hook size on the pattern label, not just what’s in your bag.
Weaving In Ends and Blocking Your Granny Squares
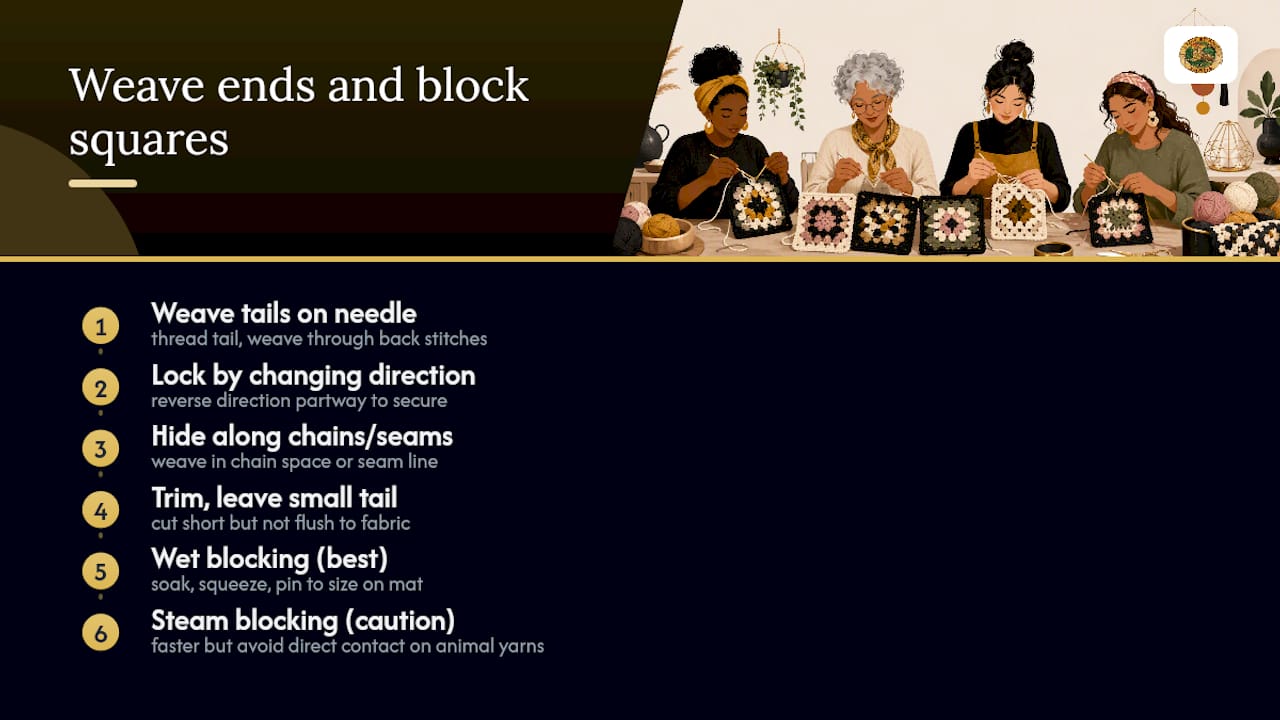
Every loose tail on a granny square needs to be woven in before the piece is finished, and rushing this step is the most common reason a finished blanket looks homemade in the wrong way. Thread each tail onto a yarn needle and weave it through the back of several stitches, changing direction once partway through so it locks in place instead of pulling loose after a few washes.
Weave tails along a chain space or seam line rather than straight across open fabric, since that hides them best on both sides of the work. Trim the end once it’s secure, leaving a small tail rather than cutting flush against the fabric.
Blocking comes next, and it matters more for granny squares than almost any other crochet motif because clusters and chain spaces naturally pull unevenly. Wet blocking, where the square is soaked, gently squeezed, and pinned to size on a blocking mat, gives the flattest result for cotton and acrylic yarns. Steam blocking works faster but demands more caution, especially with animal-fiber yarns that can felt if the iron touches the surface directly. Pin each square to matching measurements using a gauge ruler, let it dry completely, and only then move to joining. Skipping this step is exactly why some finished blankets end up with lumpy, uneven seams even when every individual square looked fine on its own.
The Real Skill in Granny Squares Isn’t the Stitch Count
Most granny square advice treats the stitch pattern as the hard part, when the actual skill gap shows up at the joining table. Anyone can learn three double crochets and a chain-2 corner in an afternoon. Fewer crocheters learn to block a square before joining it, and that single skipped step explains most of the “why does my blanket look lumpy” complaints in beginner forums.
The conventional wisdom also oversells variety for its own sake. A pixel granny and a starburst motif use the same underlying round-by-round logic as the classic version, just with different color decisions layered on top. Once a crocheter understands rounds and corner spaces, every fancy variation on this list becomes a color-placement exercise, not a new technique to master.
What should come first is boring but true: one test square, measured honestly against gauge, before buying yarn for anything bigger than a coaster. Skipping that step is how half-finished blankets end up in closets.
Get Your Next Granny Square Project From a Tested Pattern Library
A pattern that’s been made, photographed, and gauge-checked by the publisher beats a random image pin every time, especially for a project that eats a hundred squares’ worth of yarn. Lion Brand’s free pattern library gives granny square projects at every skill level, paired with yarn already matched to the pattern’s listed gauge, so there’s no guessing between a 5mm and 5.5mm hook halfway through square 40.
For a blanket, the Grand Granny Square Afghan Pattern lays out yardage and hook size up front. For something wearable, the Granny Square Scarf Pattern turns the same motifs into a scarf. Pick a pattern, check the yarn weight it calls for, and grab a couple of skeins to crochet your test square this week.
Sources
FAQ
What is the easiest granny square pattern for beginners?
The traditional classic granny square, made from three-stitch clusters separated by chain-2 corners, is the easiest granny square pattern to learn since it forgives tension mistakes and needs no special stitches.
What are some cool granny square patterns to try?
Starburst and retro daisy motifs make striking standalone pieces, while pixel granny squares let you build simple images with color placement across a joined project.
What are the main types of granny square patterns?
The main categories include traditional, solid or no-gap, hexagon, flower or blossom, block-stitch, puff or textured, giant, pixel, and ombre-friendly variations, each suited to different projects and skill levels.
Where can I find free granny square patterns?
Lion Brand’s free pattern library includes tested granny square patterns sorted by skill level, alongside other online collections that show dozens of motif variations for inspiration.
