
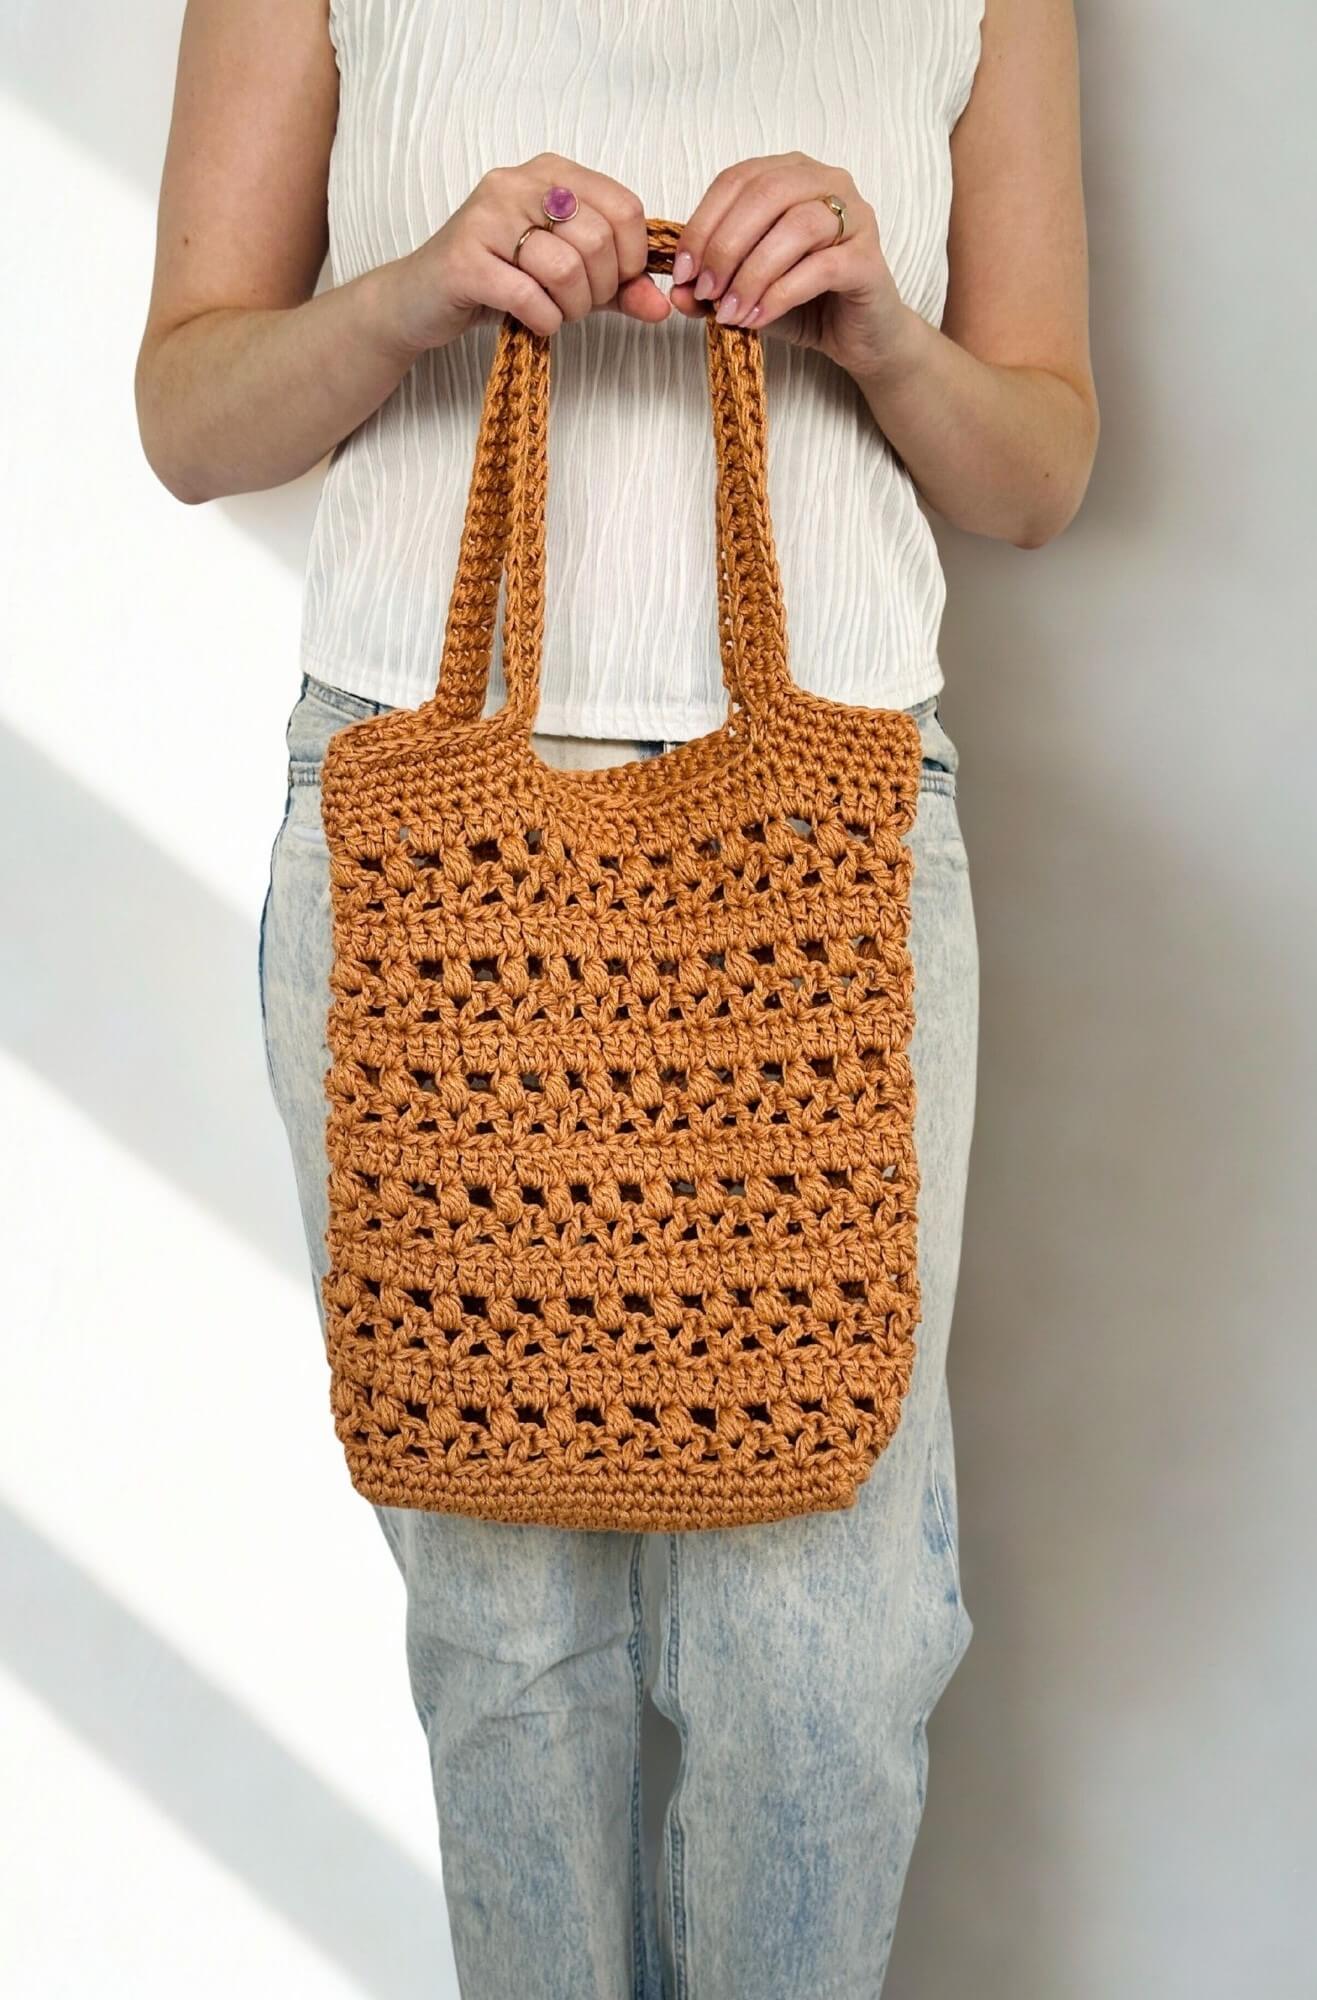
How to Make Crochet Market Bag Handles That Last
Image: Crochet Kit – Crochet Market Bag
For a no-sew, low-stretch market-bag handle, crochet the handle directly into the final round and reinforce with 2–3 rounds of dense single crochet or the thermal stitch. That single approach covers most crochet market bag handles situations. But knowing which method fits your specific bag makes the difference between a handle that holds a week’s groceries and one that stretches out by the third trip.
The three approaches worth knowing:
Crocheted-into-bag (no-sew), reinforced with dense rounds or thermal stitch. Best when you want a clean, finished look with no sewing. Works directly into the final round of the bag. Use this for most market totes.
Separate crocheted strap, sewn or slip-stitched on. Best when you need a custom length, a thicker strap, or you’re retrofitting handles onto a finished bag. Gives the most control over width and attachment style.
Chain + single-crochet-wrapped handles. Best for quick repairs or a fast finish. Chain to the desired length, then wrap with rounds of single crochet. Less durable under heavy loads but perfectly fine for lighter market bags.
Lion Brand Yarn’s cotton and cotton-blend lines are the go-to starting point for any of these methods. Low-stretch fibers hold their shape under load in a way that soft acrylics simply don’t.
Key Takeaways
The most durable crochet market bag handles combine a low-stretch fiber like cotton, a dense stitch like the thermal or waistcoat stitch, and at least two reinforcement rounds worked at a tighter gauge than the bag body.
| Point | Details |
|---|---|
| Use low-stretch fiber | Cotton or cotton-blend yarn resists handle stretch better than soft acrylics under load. |
| Go smaller on hook size | Use a hook one to two sizes smaller for handles than for the bag body to tighten tension at stress points. |
| Reinforce with 2–3 rounds | Two to three rounds of thermal stitch or dense single crochet after the chain base produces a durable, comfortable handle. |
| Calculate placement before starting | Divide stitch count by 2, subtract handle opening, divide remainder by 2 to find side spacing. |
| Lion Brand kits include matched materials | The Bonjour Belle Market Bag, Crochet Market Bag Kit, and Hopscotch Market Tote Bags each come with yarn pre-selected for the pattern. |
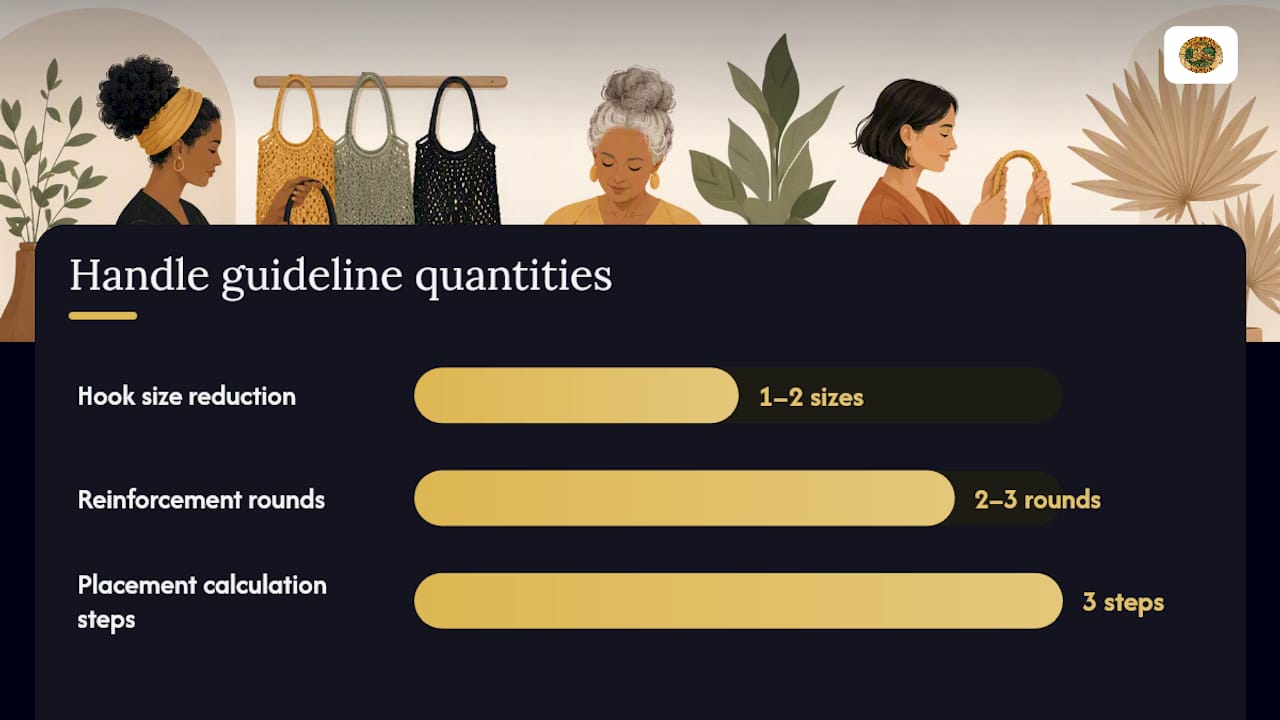
Table of Contents
What supplies do you need for sturdy market-bag handles?
Getting the materials right before you start saves a lot of reworking later. Handles take more stress than the bag body, so every choice here matters more than it might seem.
Yarn
Sturdy, tightly spun fibers are the foundation of durable bag handles. Cotton is the top choice: it has low stretch, holds its shape after washing, and feels comfortable against the shoulder. Lion Brand’s 24/7 Cotton Yarn is a workhorse for this. For a lighter bag, 24/7 Cotton DK Yarn works well for narrower straps. The Coboo Yarn (a cotton-bamboo blend) adds a slight sheen and drapes beautifully while still resisting stretch. If you want a machine-washable wool-blend option with more structure, Vanna’s Choice Yarn in worsted weight holds up well for handles that carry moderate loads.
Hook sizes
Go one or two hook sizes smaller for handles than you used for the bag body. If the bag was worked on a 5.0mm (H/8) hook, use a 4.0mm (G/6) or 4.5mm for the handles. Tighter tension at stress points reduces flop and slows stretch.
Notions and hardware
Stitch markers (at least 4) for handle placement
Tapestry needle for weaving ends and sewing attachment points
Optional: macramé cord or cotton webbing to insert inside handles for extra rigidity
Sewing needle and strong thread if attaching separate straps
Metal D-rings or carabiner clips for detachable strap options
Care note
Cotton and cotton-blend handles are generally machine-washable on a gentle cycle. If you’ve inserted a macramé cord or webbing, hand-wash to protect the insert. Always check the yarn label.
Pro Tip: When using Lion Brand 24/7 Cotton for handles, go down to a 4.0mm hook even if the pattern calls for 5.0mm. The tighter fabric resists stretch and feels more polished at the handle opening.
Cotton yarn worked at a tighter gauge than the bag body is the single most reliable way to keep crochet handles from stretching out under grocery-load weight. The fiber’s low elasticity does the structural work; the tighter tension keeps it neat.
What are the main handle construction methods?
Four approaches cover nearly every market-bag handle situation. Each has a different speed, finish, and stretch profile.
Crocheted-into-bag (no-sew). The handle opening is left unworked in the final round; a chain spans the gap, and rounds of single crochet or thermal stitch are worked around it. No sewing required. Fast, symmetric, and very clean-looking.
Separate crocheted strap, attached. The strap is made independently, then sewn or slip-stitched onto the bag. Slower, but gives full control over length, width, and attachment position. The right call when retrofitting a finished bag.
Chain + wrap method. Chain to the desired length, join to the bag, then wrap the chain with rounds of single crochet. Quick and accessible for beginners. Works best for lighter loads.
I-cord, rope, or braided options. A braided i-cord or a crocheted tube over a macramé rope core produces a very round, firm handle. Takes more yarn and time, but the result is rigid and comfortable.
The stretch question comes down to construction direction. Lengthwise construction, where stitches run along the length of the strap rather than stacking in rows, distributes load along the yarn strand instead of compressing stitch on top of stitch. Zamiguz’s thermal-stitch strap tutorial demonstrates this clearly: a lengthwise thermal-stitch strap holds beach and market loads without noticeable stretch.
Pro Tip: Working handles lengthwise rather than in stacked rows is the single biggest structural upgrade you can make. The thermal stitch worked lengthwise combines both advantages at once.
How do you crochet handles directly into the final round?
This is the fastest no-sew method for a finished look, and when reinforced with 2–3 dense rounds, it’s durable enough for a full grocery run.
Mark handle placement. On the final round of the bag, place stitch markers to define each handle opening. Use the placement math below to find the right spacing.
Work to the first marker. When you reach the first marker in the final round, skip the stitches designated for the handle opening (typically 16–22 stitches for a standard tote handle).
Chain across the opening. Chain the same number of stitches you skipped (e.g., 20 chains for a 20-stitch opening). This chain becomes the base of the handle.
Continue the final round. Work across the side stitches to the second handle opening and repeat the chain. Finish the round normally.
Round 1 of handle reinforcement. Work single crochet evenly around the chain and into the stitches on either side of the opening. This anchors the chain and begins building the handle body.
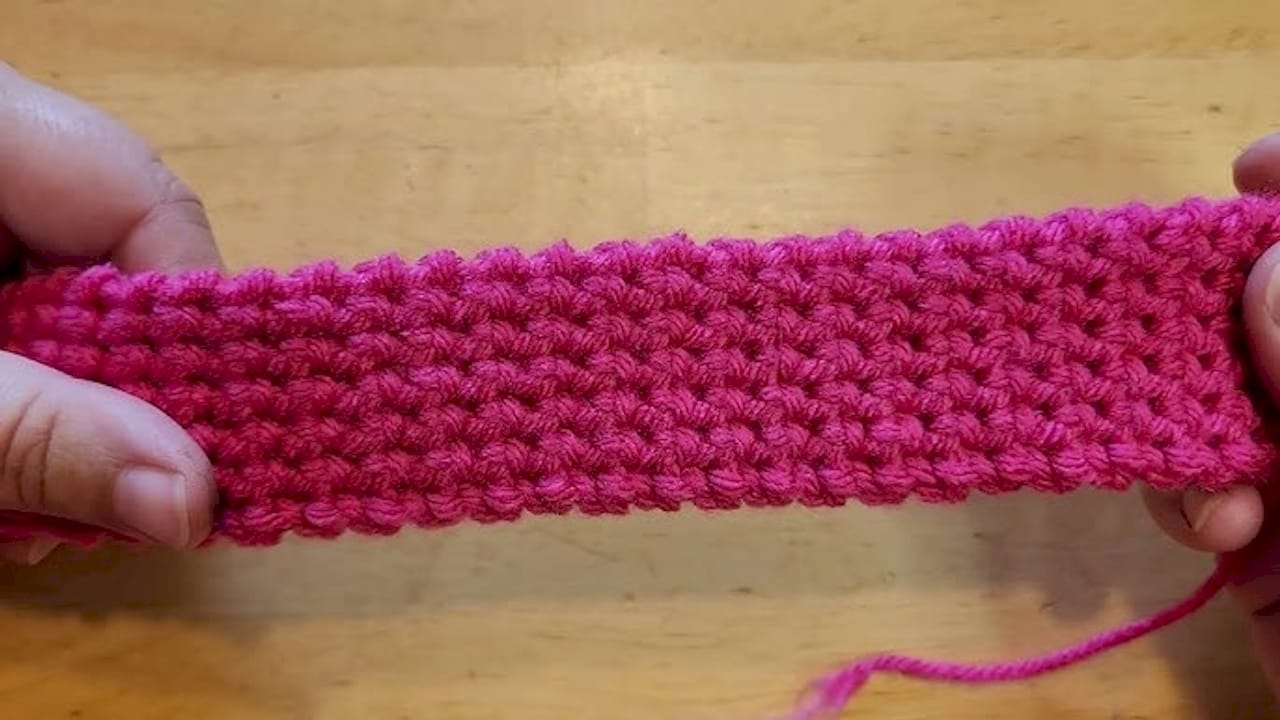
Rounds 2–3. Continue in single crochet or switch to the thermal stitch for a denser, lower-stretch result. Two rounds produce a slim handle; three rounds give a more padded feel.
Optional: slip-stitch edging. After the final reinforcement round, work one round of slip stitch around the handle opening for a neat, firm border.
Weave in ends securely. Use a tapestry needle to weave ends back through at least 1 inch of stitches in two directions.
Placement math example (96-stitch bag): 96 ÷ 2 = 48 stitches per side. Subtract 20 (handle opening): 48 − 20 = 28. Divide by 2: 28 ÷ 2 = 14 stitches on each side before the handle opening begins. Place markers at stitch 14 and stitch 34 on each side.
CyCrochet’s step-by-step handle guide covers this calculation in detail and includes sewn-on options for comparison.
Pro Tip: Before committing to the chain length, chain the number loosely and hold the bag up by it. A 20-stitch chain in worsted cotton is roughly 4–5 inches of opening, which suits most hands. Adjust by 2–4 stitches if needed before you work the reinforcement rounds.
Testing handle length before finishing is the step most crocheters skip. Chain the opening, hold the bag in your hand, and check the fit. Fixing it at this stage takes 30 seconds; fixing it after three reinforcement rounds takes 30 minutes.
How do you make and attach separate crocheted straps?
Separate straps give the most control over width, thickness, and attachment style. They’re also the right fix when a finished bag needs new or upgraded handles.
Decide on dimensions. Typical tote handles run 14–18 inches; shoulder straps run 20–24 inches. For width, a 10–14 stitch foundation in worsted weight produces a strap roughly 1–1.5 inches wide.
Choose your stitch. Waistcoat stitch produces a dense, almost woven fabric. Thermal stitch adds thickness without doubling yarn. Double-thickness (work a flat strip, fold in half, slip-stitch the long edges together) gives a firm, padded handle. Sandra Stitches documents all three with stitch-level detail.
Work to length. For a thermal-stitch strap, chain 10–14, then work rows of thermal single crochet until the strap reaches the desired length. For a double-thickness strap, work a strip twice the desired finished width, fold, and seam.
Block or press lightly. Cotton straps benefit from a light damp press to set the shape before attachment.
Mark attachment points on the bag. Measure from the center of the bag opening on both sides. Use stitch markers to tack the strap ends in place before sewing, so both handles sit at exactly the same height.
Attach with a box stitch. Sew a small rectangle of stitches at each strap end, then cross it with an X for maximum hold. Reinforce with a second pass of thread.
Attachment options beyond sewing: slip-stitch loops (crochet the strap end into a loop and slip-stitch it around a row of bag stitches), metal D-rings for a detachable strap, or carabiner clips for a sporty look.
Pro Tip: Always tack both strap ends in place with a single stitch before committing to the full attachment. Hold the bag up and check that both handles hang at the same height. Adjusting a tacked stitch takes seconds; unpicking a box stitch does not.
- For a beginner-friendly bag to practice attachment on, the Pensacola Bag Pattern from Lion Brand has a simple structure that makes handle placement math easy to follow.
Proven ways to reinforce handles so they resist stretching
Reinforcement is what separates a handle that lasts one season from one that lasts several years.
Thermal stitch. Works by pulling up a loop in the stitch two rows below, then completing the stitch normally. The result is a thicker, denser fabric that The Crochet Crowd identifies as the strongest option for tote handles. Use it for all reinforcement rounds when durability is the priority.
Waistcoat stitch. Insert the hook between the two “legs” of the stitch below rather than under the top loops. Produces a knit-like, dense fabric with very low stretch. Slightly slower than single crochet but worth it for shoulder straps.
Back-loop-only (BLO) rows, folded. Work a flat strip in BLO single crochet, fold it in half lengthwise, and slip-stitch the edges together. The folded structure doubles the thickness and creates a firm, padded handle.
Slip-stitch border. After finishing reinforcement rounds, work one or two rounds of slip stitch around the handle opening. This tightens the edge and prevents the fabric from curling or warping under load.
Cord or webbing insert. Thread a length of macramé cord or cotton webbing through the inside of the handle before closing the final round. The insert carries the structural load so the yarn doesn’t have to. Garnknuten’s non-stretchy strap guide explains how back-loop constructions and internal structure work together.
Fabric or canvas lining. Sew a strip of cotton canvas to the inside of the handle. Keeps the shape, protects the yarn from friction, and makes the handle more comfortable against the skin.
For heavy loads (think a full bag of farmers’ market produce), combine two techniques: thermal stitch rounds plus a cord insert. The cord carries the weight; the dense stitch keeps the shape.
Pro Tip: Sew any webbing or lining reinforcement from the inside of the handle so the outside stays clean. A few hand stitches in matching thread, hidden inside the tube, are invisible from the outside and add years of service life.
How do you size handles and calculate placement?
The formula is simple: divide the total stitch count by two, subtract the desired handle opening in stitches, then divide the remainder by two. That final number is the side spacing before each handle begins.
Worked example (96-stitch bag):
96 ÷ 2 = 48 stitches per side
48 − 20 (handle opening) = 28 stitches remaining
28 ÷ 2 = 14 stitches of side spacing on each side
Place a marker at stitch 14 and stitch 34 on each side. The handle opening runs from marker to marker.
Gauge reference for handle openings (worsted weight, ~4 stitches per inch):
Always test handle length before finishing. Chain the desired number of stitches, hold the bag in position, and check the fit over your hand or shoulder. Typical tote handles run 14–18 inches; shoulder straps run 20–24 inches. Adjust by 2–4 stitches before working reinforcement rounds.
Three copy-ready mini-patterns for common handle builds
These mini-patterns drop directly into any market-bag project. Gauge is based on worsted-weight cotton at 4 stitches per inch with a 4.0–4.5mm hook.
Mini-pattern 1: No-sew sc-wrapped chain handle
Foundation: Chain 20 (or match your handle opening stitch count).
Round 1: Work 1 sc in each chain stitch around (work into both sides of the chain for a tube effect). Join with sl st.
Rounds 2–3: Sc in each stitch around. Join.
Finishing: Sl st around the handle opening edge. Weave in ends.
Result: A slim, clean handle about 0.75 inches wide. Suitable for lighter market bags.
Mini-pattern 2: Thermal-stitch lengthwise strap
Foundation: Chain 12 (produces a strap roughly 1.25 inches wide in worsted cotton).
Row 1: Sc across (11 sc). Ch 1, turn.
Rows 2 onward: Work thermal single crochet across. Ch 1, turn.
Continue until strap reaches 14–18 inches for a tote handle or 20–24 inches for a shoulder strap.
Finishing: Sl st along both long edges to firm up the sides. Attach with a box stitch.
Note: Zamiguz’s thermal-stitch tutorial shows the exact stitch mechanics with photos.
Mini-pattern 3: Double-thickness BLO folded strap
Foundation: Chain 8.
Rows 1 onward: Sc in BLO across (7 sc). Ch 1, turn.
Work until strip is twice the desired finished length (e.g., 36 rows for an 18-inch handle).
Fold in half. Sl st the long edges together to form a tube.
Finishing: Attach with a box stitch at each end. Optional: insert a length of macramé cord before seaming for extra rigidity.
Pro Tip: For the thermal-stitch strap, work a test swatch of 10 rows before starting the full length. The stitch pulls tighter than standard sc, so your gauge may shift by half a stitch per inch. A quick swatch saves you from a strap that’s narrower than planned.
Troubleshooting: common handle problems and targeted fixes
Most handle failures come down to four issues. Here’s how to diagnose and fix each one.
Loose or stretchy strap. The stitch pattern has too much give, or the hook was too large. Fix: rework the handle in thermal stitch or waistcoat stitch, or insert a macramé cord through the existing handle and slip-stitch the opening closed.
Loose chain base. The foundation chain wasn’t reinforced enough. Fix: work 2–3 additional rounds of sc around the chain, going down one hook size for the extra rounds.
Handles digging into the shoulder. The strap is too narrow or too stiff. Fix: widen by adding a second strip and seaming it alongside the first, or sew a strip of soft fabric to the inside of the handle as padding.
Attachment points pulling or warping. The join between strap and bag isn’t reinforced. Fix: add 2–3 rounds of slip stitch around the attachment point, or sew in a small rectangle of cotton webbing on the inside.
Repair sequence for a stretchy strap (three steps):
Identify whether the stretch is in the strap body or at the attachment points. Pull the strap gently and watch where the distortion originates.
If the strap body stretches: thread a length of macramé cord through the inside of the strap. Use a tapestry needle to guide it through. Tack the cord ends to the bag at the attachment points with a few hand stitches.
If the attachment points pull: reinforce with a box stitch using strong thread, then work 2–3 slip-stitch rounds around the join on the bag side.
Before declaring a handle beyond repair, test it under load. Fill the bag with a few books, hold it by the handle for 30 seconds, and check whether the distortion is structural (the strap itself deforms) or cosmetic (the fabric looks uneven but holds). Structural failure means reworking; cosmetic unevenness often blocks out with a light damp press.
Lion Brand recommendations: best yarns and hooks for handles
The right yarn makes reinforcement techniques work harder. Here are the Lion Brand options that perform best for market-bag handles.
24/7 Cotton Yarn (worsted weight). The top pick for handles. Mercerized cotton has very low stretch, holds its shape after repeated washing, and feels smooth against the hand. Pair with a 4.0–4.5mm hook for handles (one to two sizes smaller than the bag body). Machine-washable.
24/7 Cotton DK Yarn. For narrower straps or lighter bags. Same fiber properties as the worsted version, slightly finer. Use a 3.5–4.0mm hook for handles.
Coboo Yarn (cotton-bamboo blend, DK weight). A good choice when you want a slightly drapey handle with a polished finish. The bamboo content adds a natural sheen. Hand-wash recommended.
Vanna’s Choice Yarn(worsted acrylic). When a cotton option isn’t available, Vanna’s Choice is a tightly spun acrylic that resists stretch better than loosely spun alternatives. Machine-washable. Pair with a 4.0mm hook for handles.
For any of these yarns, going one to two hook sizes smaller for the handle than for the bag body tightens the tension at stress points and reduces flop. The thermal stitch and waistcoat stitch both work well with all four options.
Pro Tip: When yarn is limited and you need to add thickness without holding double strands, the thermal stitch builds density from a single strand. This keeps the color uniform while making the handle noticeably firmer.
Lion Brand’s crochet kits collection includes several market-bag kits that come with yarn pre-selected for the pattern, which takes the guesswork out of fiber choice entirely.
The default approach for most crocheters
Crochet handles directly into the final round and reinforce with 2–3 dense rounds using a slightly smaller hook. That’s the recommendation for most market-bag projects, and it holds up under real-world use.
The reasons are straightforward. No-sew handles require no additional finishing steps, so the bag looks polished without extra assembly. Working them into the final round guarantees symmetric placement. Two rounds of thermal stitch or dense single crochet, worked at a tighter gauge than the bag body, produce a handle that handles a full grocery load without warping. The Crochet Crowd’s thermal-stitch tutorial and Garnknuten’s non-stretchy strap guide both support this as the strongest stitch-level approach.
Choose a separate strap instead when you want a detachable handle, when you’re working with very limited yarn, or when the bag design calls for a fashion-forward handle (leather tabs, metal rings, a braided cord). Those situations are real, but they’re the exception rather than the rule.
Ready to start your next market bag?
Three Lion Brand kits make it easy to put these handle techniques into practice immediately. The Garden Days Daisy Bag is a complete crochet kit with yarn and pattern included, sized for a classic market tote where the no-sew handle method works perfectly. The Crochet Market Bag Kit bundles everything a crocheter needs to make a sturdy, everyday bag, with materials pre-matched to the pattern’s gauge. For a colorful, fun take on the market tote, the Santorini Tote Bag pattern pairs well with Lion Brand’s cotton yarns and the handle techniques covered here.
All three projects work with Lion Brand’s 24/7 Cotton Yarn and the handle methods in this guide. Browse the full crochet kits collection to find the right starting point, then apply the reinforcement and placement techniques above to make handles that hold up season after season.
Sources
What is The Strongest Crochet Tote Bag Handle? + Tutorial | The Crochet Crowd
How to Make a No-Stretch Crochet Bag Strap (With the Thermal Stitch) – Zamiguz
How to crochet a non-stretchy durable bag strap – garnknuten
Crochet Bag Strap Tutorial | 3 Sturdy Straps That Don’t Stretch – Sandra Stitches
Crocheting Market Bag Handles: A Step-By-Step Guide | CyCrochet
FAQ
What is the strongest stitch for crochet bag handles?
The thermal stitch produces the densest, lowest-stretch fabric for crochet handles. The Crochet Crowd recommends it as the top choice for tote handles because it doubles back on itself to build thickness from a single strand.
How do you keep crochet handles from stretching out?
Work handles in a low-stretch fiber like cotton, use a hook one to two sizes smaller than the bag body, and reinforce with 2–3 rounds of thermal stitch or waistcoat stitch. Inserting a macramé cord inside the handle adds structural support for heavy loads.
How long should market bag handles be?
Tote handles typically run 14–18 inches for hand-carry; shoulder straps run 20–24 inches. Test by chaining the desired length and holding it in position before working reinforcement rounds.
Can you add handles to a finished crochet bag?
Yes. Make a separate strap using the thermal stitch, waistcoat stitch, or double-thickness BLO method, then attach it with a box stitch at each end. Mark placement symmetrically before sewing to keep both handles at the same height.
What Lion Brand yarn works best for market bag handles?
24/7 Cotton Yarn in worsted weight is the top choice: mercerized cotton, machine-washable, low stretch, and available in a wide range of colors. Pair it with a 4.0–4.5mm hook for handles worked at a tighter gauge than the bag body.
