
Corner to Corner Crochet: A Step-by-Step Tutorial for Beginners
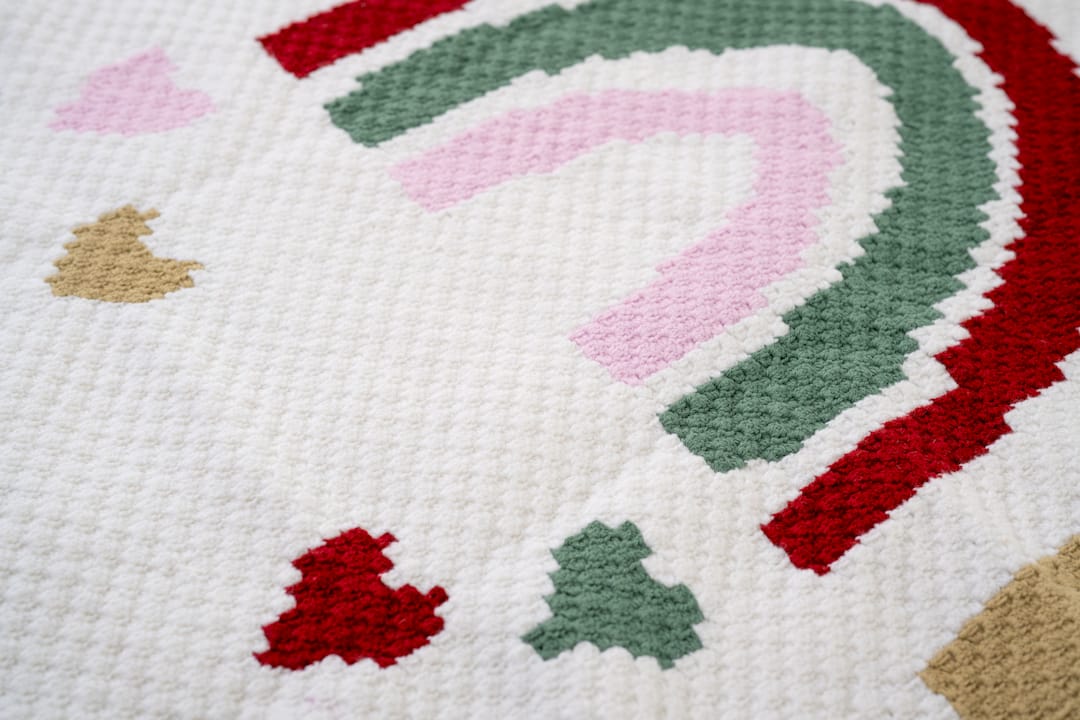
Image: Falling Hearts Rainbow C2C Blanket
Corner to corner crochet, often shortened to C2C, builds fabric from small square tiles worked diagonally across a piece, starting at one corner and finishing at the opposite one. You start a swatch by chaining 6, working a double crochet in the 4th chain from the hook plus 2 more double crochets to form your first tile, then chaining 6 again to begin the next row.
That single tile is the entire building block of the technique. Repeat it with increasing and decreasing rows, and you get the diagonal, pixelated look behind most graphghans, plus plenty of simpler projects:
Graphghans and photo-style blankets built from a pixel chart
Solid-color throws and baby blankets
Dishcloths and coasters for practicing the increase and decrease rows
Scarves and panels that use color blocking instead of a full image
Key Takeaways
Corner to corner crochet succeeds when a crocheter masters the single tile sequence first and treats color charts, sizing math, and yarn management as skills layered on top of that foundation.
| Point | Details |
|---|---|
| Master the base tile first | Practice chain 6, dc in 4th chain plus 2 more, until the sequence feels automatic before adding color. |
| Swatch before scaling | Work a 4×4 tile swatch and measure it to calculate tile size, gauge, and total yardage for a full project. |
| Change color on the last yarn over | Swap colors mid stitch at the tile boundary to keep the transition invisible and reduce loose ends. |
| Decrease at the halfway mark | Start tapering once a square hits its target width, or once a rectangle reaches its desired dimension. |
| Start with Lion Brand materials | Lion Brand’s free pattern library and yarns like 24/7 Cotton suit dishcloth-sized practice through full-size graphghans. |
Table of Contents
What Materials Do You Need for C2C Crochet?
Yarn choice affects tile size more than almost anything else in a C2C project. Worsted weight (category 4) is the default for general-purpose graphghans and throws because it produces a tile size that’s easy to see and count while you’re learning to read a chart. Cotton yarn, like 24/7 Cotton, works better for dishcloths and washcloths, since it holds its shape and doesn’t stretch out of square the way some acrylics do. Bulky weight speeds up large solid-color throws considerably, though it sacrifices some of the fine pixel detail that makes graphghans distinctive.
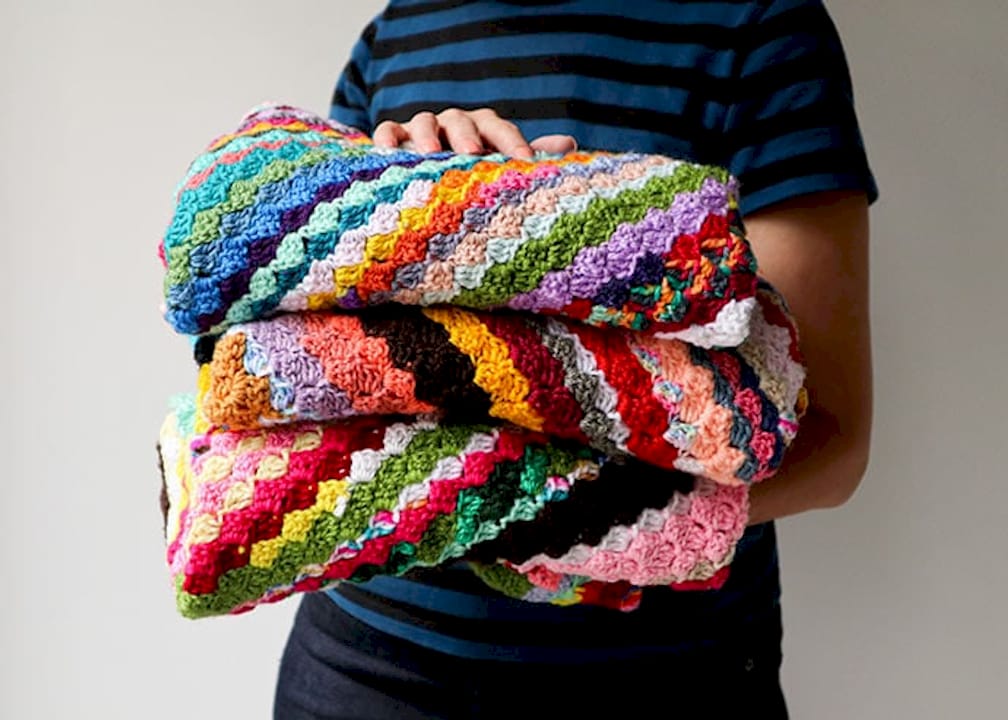
Hook size follows the yarn. A worsted weight project typically calls for an H (5.0mm) or I (5.5mm) hook, while bulky yarns move up to a K (6.5mm) or larger. If your tiles come out looser or tighter than the pattern’s stated gauge, adjust the hook up or down half a size before you adjust anything else. Tension in C2C shows up fast: a hook that’s too small makes tiles curl, and one that’s too large makes the fabric floppy and the chart hard to read.
Beyond yarn and hook, a few tools make the process considerably smoother:
Tapestry needle for weaving in ends and closing gaps between tiles
Stitch markers or scrap yarn to flag the start of a row when you’re learning to count tiles
Bobbins or yarn clips to manage multiple colors without tangling
A printed or digital chart with rows numbered for easy tracking
A row counter to keep pace with increase and decrease rows, especially past 20 tiles wide
Pattern shorthand for C2C uses standard US crochet abbreviations: ch (chain), sl st (slip stitch), dc (double crochet), and ch-3 sp (chain-3 space, referring to the turning chain at the corner of each tile). Every new row typically opens with a chain of 6 (for an increase) and closes by slip stitching into the previous row’s chain-3 space, which is the connective tissue holding the whole diagonal together.
How Do You Start the Increase Rows in C2C?
The increase phase is where most beginners either click with C2C or get frustrated by it, and the difference almost always comes down to trusting the sequence rather than trying to visualize the finished tile before you get there. Work through it once, slowly, and the pattern becomes muscle memory.
Chain 6. This forms both the first tile’s turning chain and its three stitch placements.
Work a double crochet in the 4th chain from the hook, then work a double crochet in each of the next 2 chains. That’s your first tile: one small block of 3 double crochets sitting on a chain-3 base.
Chain 6 again to start the second tile of row two.
Double crochet in the 4th chain from the hook, then in the next 2 chains, just as before.
Slip stitch into the chain-3 space of the previous tile. This is the join that locks the new tile to the one below it and creates the diagonal pull.
Chain 3, then work 3 double crochets into the same chain-3 space to complete a second tile on that row.
Turn your work. FiberTools’ beginner guide confirms this chain 6 start, along with the chain-3-plus-3-dc structure, as the standard C2C tile formula used across most patterns.
Repeat steps 3 through 7, adding one tile at the end of every row.
Checking your orientation matters more than it sounds like it should. The right side of C2C fabric shows the tiles sitting slightly tilted, like a staircase; the wrong side shows a flatter, more uniform texture. Flip your work at the end of every row and glance at which side faces you before diving into the next chain 6. This habit prevents the twisted-float problem that shows up later when you start switching colors.
Pro Tip: Count your tiles out loud at the end of each row for the first ten rows. It feels tedious, but it catches a missed or doubled tile before it compounds into a lopsided swatch.
Here’s the part that trips people up conceptually: each row is one tile longer than the row before it, and that steady, predictable growth is what produces the 45 degree diagonal edge. Row 1 has one tile, row 2 has two, row 10 has ten. Nothing mysterious is happening. It’s simple addition, stitch by stitch.
Once you’ve got the rhythm down, practice on a small scale before committing to anything bigger. Build a swatch that grows to 4 tiles wide, then immediately begin decreasing back down to a single tile. That round trip teaches you both halves of C2C in about twenty minutes, and it gives you a real, measurable piece of fabric to check your gauge against before you start a full-size blanket.
How Do You Decrease and Finish a C2C Piece?
Decreasing is the mirror image of increasing, and once you’ve practiced the increase rows, the decrease rows will feel almost familiar. The core move: slip stitch across the first tile, then chain 3, and work 3 double crochets into the next chain-3 space. That single sequence, repeated down the row, removes one tile per row until you’re back to a single tile at the opposite corner.
Slip stitch across the 3 double crochets of the first tile, then slip stitch once more into its chain-3 space.
Chain 3, then work 3 double crochets into the next tile’s chain-3 space. This effectively “retires” the outer tile without leaving a hole or a jagged edge.
Repeat across the row, working one fewer tile than the previous row.
Turn and repeat until only one tile remains.
Knowing when to switch from increasing to decreasing depends on the shape you’re after. For a square, start decreasing once you reach your target width, which typically lands at the halfway point of your total row count. For a rectangle, keep increasing past that halfway mark until you hit your desired width, then hold that width for a stretch (working straight rows without increasing or decreasing) before beginning the taper to the final corner.
Edges tend to wave a little on a first attempt, and that’s rarely a sign you’ve done something wrong. A consistent hook size and consistent tension smooth most of it out. If a panel still looks uneven once it’s off the hook, a simple single crochet or double crochet border around the whole piece hides minor inconsistencies and gives the finished project a cleaner frame.
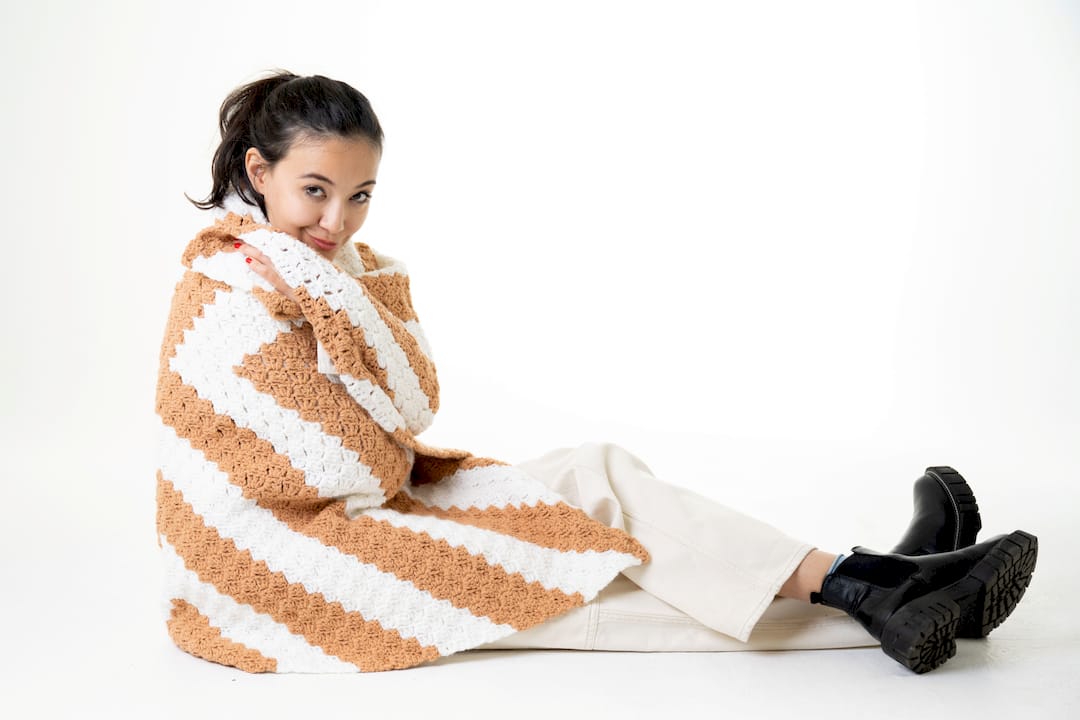
Image: Striped C2C Lapghan
For weaving in ends, work in short segments as you go rather than saving 40 tails for the end of the project. Make & Do Crew’s beginner walkthrough recommends practicing this rhythm on a dishcloth-sized project first, since the stakes are low and the finishing techniques transfer directly to larger graphghans. If the finished piece still isn’t lying flat after blocking, a light steam block or a wet block with pins usually corrects minor shape issues without touching the stitches themselves.
How Do You Change Colors and Manage Yarn in C2C?
Color changes are where C2C either turns into a smooth, satisfying process or a tangled mess of tails and confusion, and the difference comes down almost entirely to technique and preparation rather than skill level.
The cleanest color change happens on the last yarn over of the final stitch in a tile. Instead of pulling the current color through to finish that last double crochet, drop it and pull the new color through instead. That last-yarn-over swap keeps the color transition invisible on the front of the work and avoids a bulky knot at the tile boundary.
Deciding whether to carry a color or cut it depends on how far away the next matching tile sits. If the same color reappears within a tile or two, carry it loosely across the back and crochet over it on the next row rather than cutting and rejoining. If a color won’t reappear for five or more tiles, cut it and weave the tail in as you go. Interweave’s guide to managing yarns in C2C recommends this exact approach: keep colors attached when it’s practical, and crochet directly over the tails to cut down on the weaving-in work waiting for you at the end.
Multi-color graphghans mean managing a lot of yarn at once, and a little organization up front saves hours later:
Wind small amounts of each color onto bobbins or into butterfly bundles rather than working from full skeins.
Clip bobbins to the edge of a basket, or feed working strands through holes poked in a container lid, to keep them from rolling and tangling as you work.
Mark the right side of your work with a small safety pin or scrap of yarn so floats consistently land on the wrong side.
Plan your longest color runs first when winding bobbins, then handle small repeated accent colors last.
Pro Tip: Measure and unravel one finished tile before you start a multi-color project. That length, multiplied by the number of tiles in that color across your chart, gives you a solid yardage estimate per color instead of guessing and running short mid-blanket.
How Do You Read and Design a C2C Pixel Chart?
A C2C pixel chart maps one square on the grid to exactly one tile in your crochet, which makes graphghans surprisingly approachable once you know the convention. Most charts start reading from the bottom corner, working diagonally row by row, exactly the way you build the fabric itself, which is why AllFreeCrochet’s guide to C2C patterns recommends numbering or highlighting rows on a printed chart as you complete them. It’s easy to lose your place on a 60 row graphghan without that visual marker.
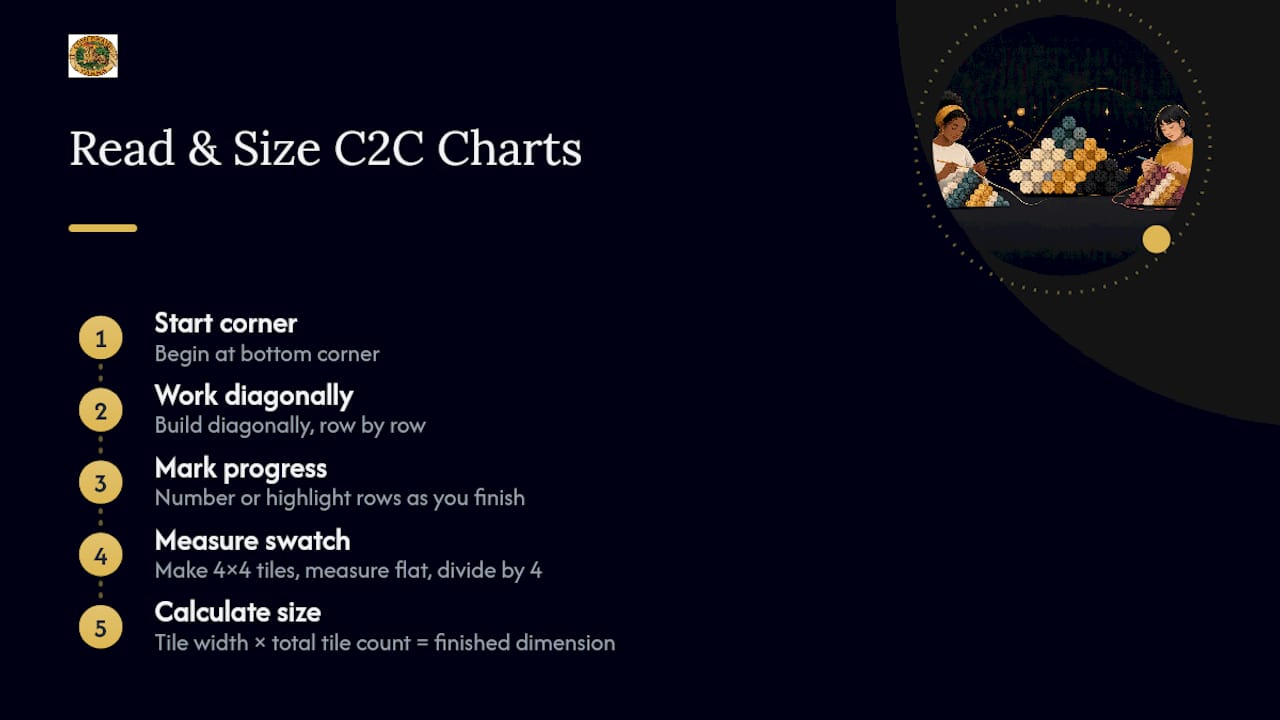
Sizing a project from a chart comes down to one formula: swatch tile width multiplied by the total tile count on the chart equals your finished dimension. To get that swatch measurement, work a 4×4 tile swatch, measure it flat, and divide by 4 to find the width of a single tile at your gauge.
These figures assume a tile that measures roughly half an inch across at standard worsted weight and an H hook, which is a common starting gauge but not a guarantee. Always confirm with your own swatch before scaling up a full graphghan, since tension varies enough between crocheters to shift a 100-tile blanket by several inches in either direction.
For actually building a chart, graph paper works fine for a first attempt, and spreadsheet tools or dedicated pixel-art apps make revisions far less painful once you’re past ten or fifteen colors. Test any new chart on a small swatch before committing yarn to the full design, then adjust gauge or color placement based on what you see. Switching to half double crochet instead of double crochet tightens up the tile size and adds finer pixel detail, though it does mean more tiles, and slightly slower progress, to cover the same finished area.
If you’re designing an image-based graphghan and want inspiration for translating a picture into blocky, grid-based color, this look at Gullah rag quilt color symbolism offers a genuinely different way of thinking about how color blocks read from a distance, which applies directly to chart design.
Why Do My C2C Rows Look Uneven, and How Do I Fix It?
Most C2C problems trace back to one of three causes: a skipped chain-3 space, an inconsistent hook grip, or floats pulled too tight across the back.
If you skip a chain-3 space or slip stitch into the wrong spot, you’ll usually spot it a row or two later when your tile count doesn’t match the chart. Rather than ripping out the whole section, count back to the error, unravel just that row, and rework it. The fix is almost always faster than starting over.
Wavy edges usually come from tension that drifts partway through a project, often after a break of a few days. Blocking corrects mild waviness; a genuinely misshapen edge from a hook-size change needs a few rows reworked at consistent tension instead.
Visible floats on the back can be tacked down with a few duplicate stitches or a discreet whip stitch once the piece is finished.
If a float is stretched so tight it puckers the front, cut it and reattach with a bit of slack rather than leaving it under tension.
Frog (rip out) a row only when the error affects tile count or placement; for a cosmetic issue alone, a localized fix is almost always faster and less risky.
What Are the Best Starter Projects for Learning C2C?
A dishcloth is the fastest way to learn the full increase-decrease cycle in cotton, usually finishing in under an hour once you’ve got the rhythm down. From there, a baby blanket in worsted weight gives you enough rows to practice color changes without the time investment of a full-size throw, and a bulkier yarn speeds up a solid-color throw considerably for a first big project.
To estimate tile counts for your own project, measure a 4×4 swatch, calculate your per-tile width, then divide your target finished width by that number to get the tile count you need. A 40 inch throw at a standard tile size needs a large number of tiles across, which you can calculate by measuring your swatch and dividing your target width by your tile size.
For pattern inspiration once you’re past the practice-swatch stage, Lion Brand’s color block afghan and pillow pattern demonstrates color blocking concepts that translate directly into C2C panel planning, and the two color afghan pattern offers a simpler stripe-based project if a full graphghan feels like too big a jump. For bold, graphic color blocking that echoes the C2C aesthetic, the jigsaw puzzle afghan pattern is worth a look too.
Scaling up from a small swatch to a full graphghan comes down to choosing between two approaches: repeating a single small motif across the whole blanket, which is far easier to chart and track, or building one central image surrounded by solid-color tiles, which demands more careful chart planning but produces a more striking finished piece.
Lion Brand Resources for C2C Crochet
Lion Brand has spent more than 145 years helping crafters find the right materials for the project in front of them, and that experience shows up in a free pattern library built specifically to sort by skill level and project type, alongside educational guides covering everything from basic stitches to full graphghan construction.
For C2C specifically, a few yarns stand out:
Hometown for bold, fast-growing tiles on a jumbo-scale throw, where each tile reads clearly from across a room.
Mandala Bonus Bundle Yarn for graphghans that want built-in color movement without switching skeins constantly.
24/7 Cotton for dishcloths and smaller practice swatches where crisp stitch definition matters most.
Curated knit and crochet kits also pair well with C2C practice, giving beginners pre-portioned yarn and hooks so the first swatch is one less decision to make.
The Real Skill in C2C Isn’t the Stitch, It’s the Tracking
Most tutorials treat corner to corner crochet as a stitch pattern to memorize. That framing undersells it. The chain-3-plus-3-dc tile itself is genuinely simple, simple enough that a first-timer can learn it in five minutes. What actually separates a clean graphghan from a lopsided one is tracking: counting tiles accurately, keeping the right side consistent, and catching a missed increase before it compounds across twenty rows.
Conventional advice leans hard into color theory and chart design, which matters eventually but rarely explains why a beginner’s first swatch comes out crooked. It’s almost never the stitch. It’s a skipped chain-3 space three rows back that nobody caught.
The reader’s real first priority should be a boring, unglamorous swatch: four tiles up, four tiles down, worked slowly enough to feel the structure. Everything downstream, chart reading, color management, scaling to a full blanket, gets dramatically easier once that rhythm is automatic rather than something to consciously calculate every row.
Get Started on Your First C2C Project with Lion Brand
A first C2C swatch only needs the right yarn, a hook that matches it, and a pattern that doesn’t assume you already know the shorthand. Lion Brand’s free pattern library sorts every project by skill level, so a dishcloth-sized practice piece and a full graphghan sit side by side with the right yarn already suggested for each.
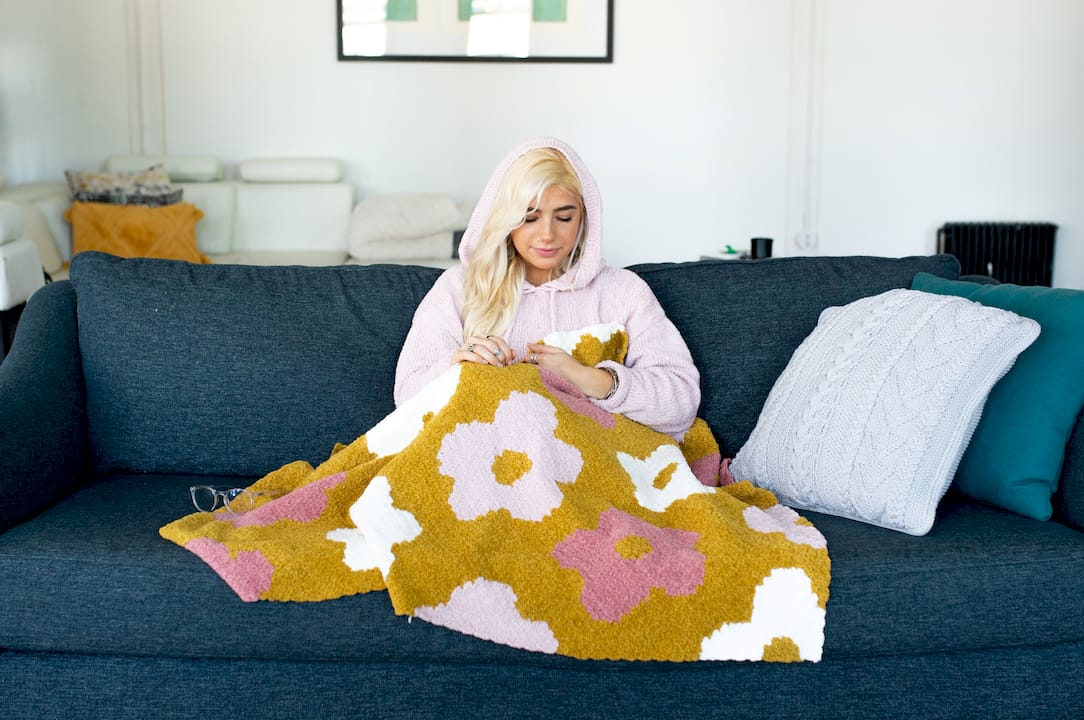
Image: Flower Power C2C Blanket
For a first swatch, 24/7 Cotton gives crisp, countable stitch definition that makes it easy to see whether a tile came out right. Ready to scale up to something bolder? Hometown turns a graphghan into a fast weekend project, since its oversized tiles cover ground in a fraction of the rows a worsted weight version would need. Beginners who’d rather start with a guided project can browse Lion Brand’s crochet kits, which bundle yarn, hook, and pattern together so the only decision left is which color palette to pick. Choose a yarn weight, print a chart, and start that first tile today.
Sources
How to Corner to Corner Crochet: Managing Yarns — Interweave
How to Corner to Corner Crochet (C2C) for Beginners — Make & Do Crew
FAQ
How Do You Do Corner to Corner Crochet Step by Step?
Chain 6, work a double crochet in the 4th chain from the hook plus 2 more double crochets to form the first tile, then chain 6 and repeat, adding one tile per row until you reach your widest point, then decreasing one tile per row to the opposite corner.
What’s the Best Stitch for C2C?
The standard chain-3-plus-3-double-crochet tile is the most common choice because it produces clear, chart-ready squares; half double crochet works too and creates finer pixel detail at the cost of more tiles per row.
How Do You Crochet C2C for Beginners?
Start with a small practice swatch, like a dishcloth or a 4×4 tile square, to learn the increase and decrease sequences before attempting a full graphghan, and lean on Lion Brand’s free patterns sorted by skill level to find a beginner-friendly first project.
How Big Should a Corner to Corner Crochet Blanket Be?
A baby blanket typically runs around 60 tiles across at worsted gauge, while a throw-sized graphghan often needs 100 tiles or more; measure a 4×4 swatch first to convert your desired finished width into an accurate tile count.