

Skill Level
Level 5 - Experienced
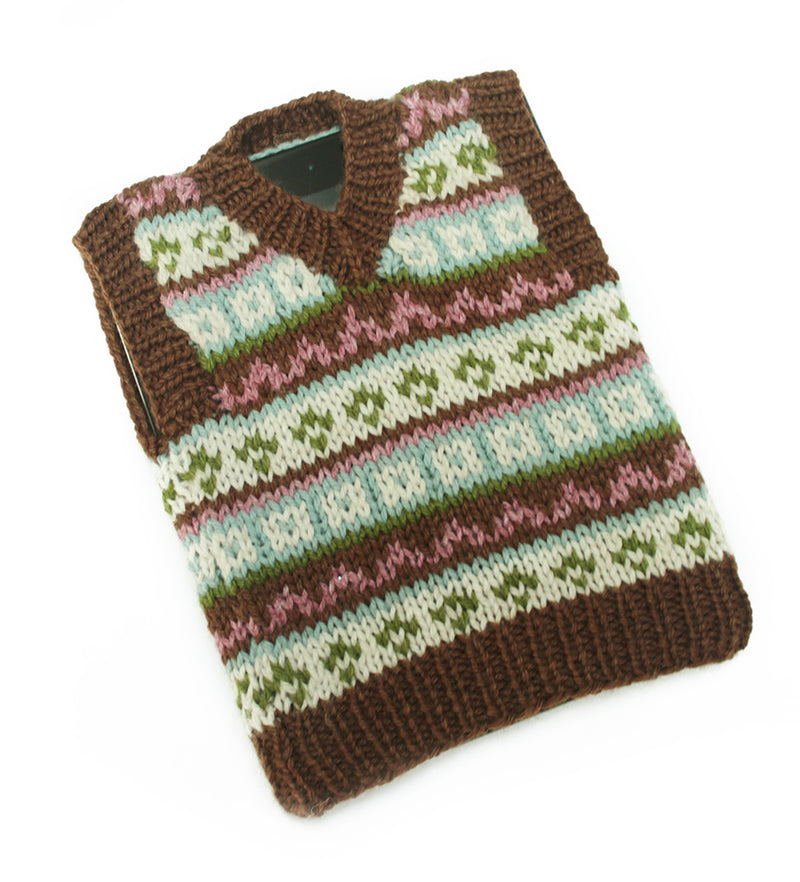
Project Type
Accessory, Vest
Yarn Used
Wool-Ease® - 620
Pattern Size Options
One Size
Pattern Yarn Weight
4 Medium / Worsted
Dimensions Detail
About 8 x 10 in. (20.5 x 25.5 cm)
Pattern Craft
Knit
Made For
Home