Welcome! Last week, we learned the chain and single crochet stitch, and I assume you’ve been practicing nonstop, right? Well, now we get to really become masters of those techniques as we make the Crochet Level 1 Wristers.
For these, you need a single ball of category 4 yarn — the pattern calls for Heartland®, but I used Jeans® (color: Top Stitch) — and a size I-9 (5.5 mm) hook. You won’t use the whole skein, so save it for practice or your next project.
Let’s get started!
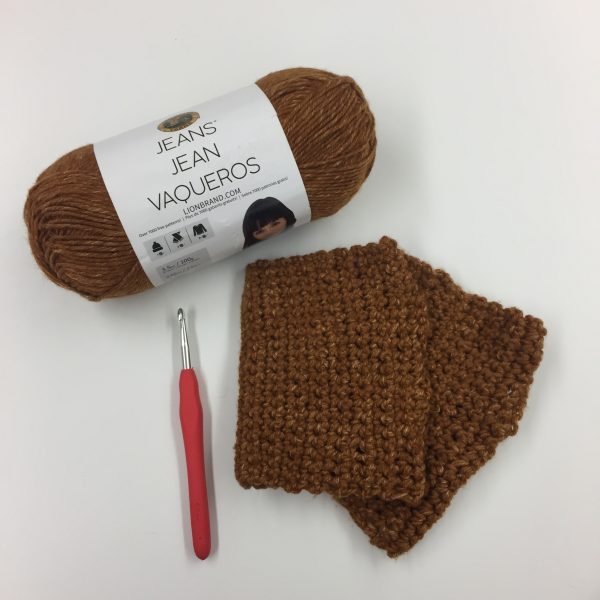
To make these, you are basically creating two rectangles out of single crochet, then sewing each one into shape (leave a thumb hole!).
You start by chaining 21, then you work sc into the second chain stitch, and every chain stitch across the row. You should have 20 total stitches.
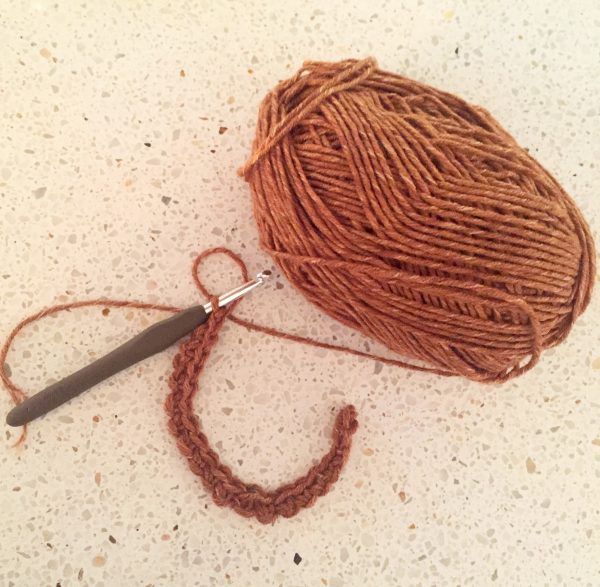
From there, you chain one, turn, and sc across the row. Repeat that over and over until the piece is beg enough to fit around your wrist. The pattern suggests 6.5 inches. Then fasten off.
To sew it up, fold it in half so the first and last row meet, then sew up the seam, leaving a space for the thumb. You’ll do this by sewing for one inch, skipping about an inch and a half, then sewing up the rest of the side.
Make a second wrister the same way, sew it up, and you’re done!
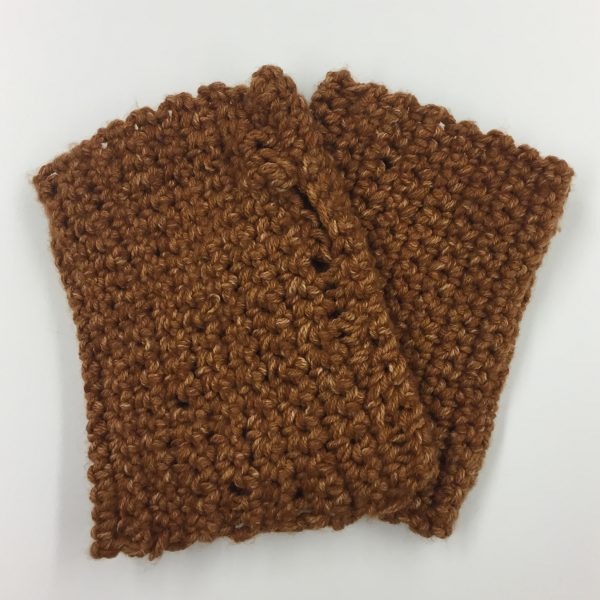
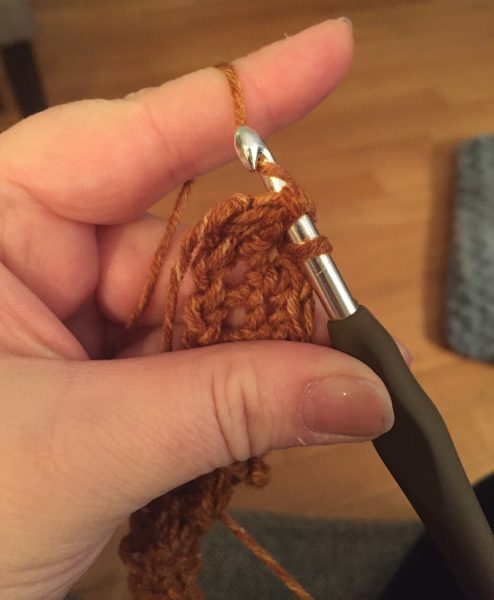
Admittedly, I had a little trouble with tension at first. Since I’m a right-hand/English knitter, I’m not used to the way you hold the yarn in crochet. So my first wrister looked like this:
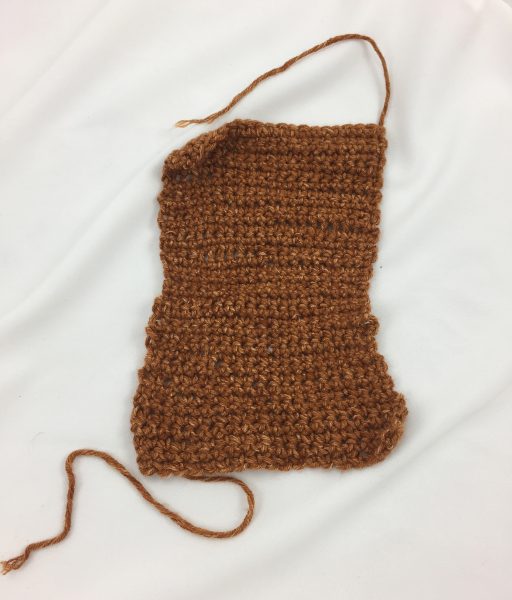
As you can see, I sort of got it eventually. The second one was much less wonky. And when I sewed them up, I was able to (mostly) hide the weirdness in that one.
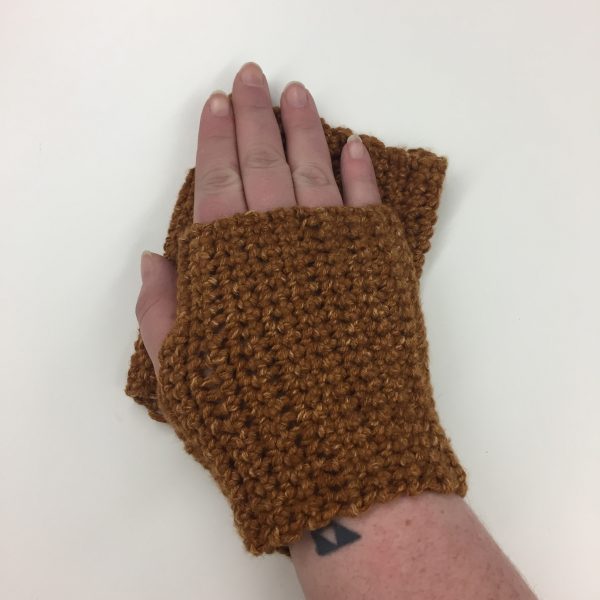
They’re actually comfortable little mitts. I’ve worn them while working, so that my fingers are free to type but the rest of me is warmer. But even if you don’t wear them a lot, they’re an excellent way to practice your single crochet stitch.

Once you finish making yours, leave a comment and let us know how they turned out!
Next week, we’ll be learning a few more stitches, so get your practice yarn and hooks ready. As always, if you need a little extra help getting these stitches down, check out our Learn section.
You must be <a href="https://blog.lionbrand.com/wp-login.php?redirect_to=https%3A%2F%2Fblog.lionbrand.com%2Flearn-crochet-wristers%2F">logged in</a> to post a comment.