


Skill Level
Level 5 - Experienced
Project Type
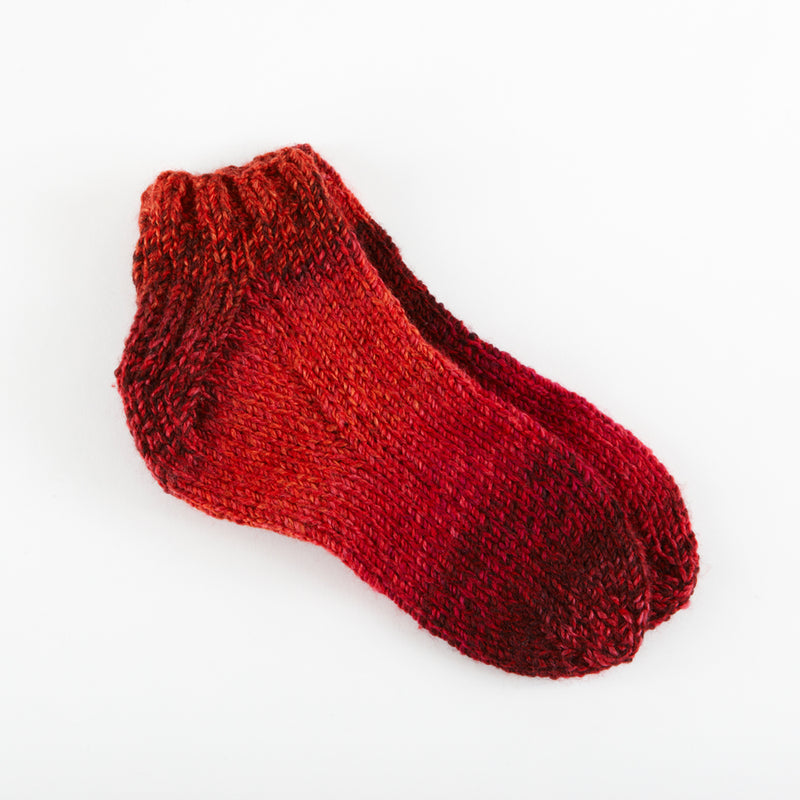
Socks
Dimensions Detail
Finished Circumference about 8 in. (20.5 cm), foot length is adjustable.
Pattern Sizing Info
Pattern is written for smallest size with changes for larger sizes in parentheses. When only one number is given, it applies to all sizes. To follow pattern more easily, circle all numbers pertaining to your size before beginning.
Pattern Yarn Weight
5 Bulky / Chunky
Fiber
Acrylic
Pattern Craft
Knit
Made For
Woman